How to Draw a Tea Cup: 8 Easy Steps for Beginners
Have you ever sat down with a pencil and paper, staring at a beautiful tea cup, wondering how artists make drawing look so effortless? I remember my first attempt at sketching a simple tea cup – what should have been a graceful curve turned into something that looked more like a lopsided bowl! The frustration was real, but I discovered that learning how to draw a tea cup: 8 easy steps for beginners can transform anyone from a hesitant sketcher into a confident artist.
Drawing a tea cup might seem challenging at first glance, but it’s actually one of the most rewarding subjects for beginning artists. The elegant curves, the delicate handle, and the satisfying symmetry make it an ideal practice piece that teaches fundamental drawing skills. Whether you’re picking up a pencil for the first time or looking to refine your basic drawing techniques, mastering this classic subject will boost your confidence and provide a solid foundation for more complex artwork.
Key Takeaways
- Start with basic shapes: Every tea cup begins with simple ovals and circles that form the foundation
- Focus on proportions: The relationship between the cup’s width, height, and handle size determines realistic appearance
- Master the handle technique: The tea cup handle requires specific attention to curves and connection points
- Add depth with shading: Simple shading techniques transform a flat drawing into a three-dimensional masterpiece
- Practice makes perfect: Regular practice with these 8 steps will dramatically improve your drawing skills
Understanding the Basics: Why Tea Cups Are Perfect for Beginners
Before diving into our step-by-step guide, let’s explore why tea cups make excellent practice subjects for new artists. Tea cups combine several fundamental drawing elements – geometric shapes, curved lines, symmetry, and three-dimensional form – all in one manageable object.
The beauty of learning how to draw a tea cup lies in its forgiving nature. Unlike drawing faces or complex landscapes, small imperfections in a tea cup sketch often add character rather than detract from the overall appearance. This makes it an ideal confidence-builder for beginners who might feel intimidated by more challenging subjects.
Essential Materials You’ll Need
Getting started doesn’t require expensive art supplies. Here’s what I recommend for beginners:
Basic Drawing Kit:
- Pencils: 2H (light lines), HB (general sketching), 2B (darker lines and shading)
- Paper: Standard drawing paper or sketch pad
- Eraser: Kneaded eraser for gentle corrections
- Blending tool: Tissue paper or blending stump (optional)
Many successful artists began with nothing more than a basic pencil and paper[1]. The key is starting with what you have and focusing on technique rather than tools.
The Complete Guide: How to Draw a Tea Cup: 8 Easy Steps for Beginners
Now let’s break down the drawing process into eight manageable steps. Each step builds upon the previous one, creating a logical progression from basic shapes to a finished tea cup drawing.
1. Start with the Basic Oval Shape
Begin by drawing a horizontal oval near the center of your paper. This oval will become the rim of your tea cup – the opening you’d drink from. Make it slightly wider than it is tall, roughly in a 3:2 ratio.
Pro tip: Don’t worry about making it perfect! The beauty of hand-drawn art lies in its subtle imperfections. Focus on getting the general proportions right rather than achieving mathematical precision.
Keep your pencil strokes light at this stage. You’ll be refining and adjusting these initial shapes, so heavy lines will be harder to erase later.
2. Create the Cup’s Body with a Larger Oval
Below your first oval, draw a larger, slightly more circular oval. This will form the widest part of your tea cup’s body. Position it so that it overlaps slightly with your first oval, creating the illusion that the rim sits on top of the cup body.
The bottom oval should be approximately 1.5 times wider than your top oval. This proportion creates the classic tea cup silhouette that’s both elegant and stable-looking.
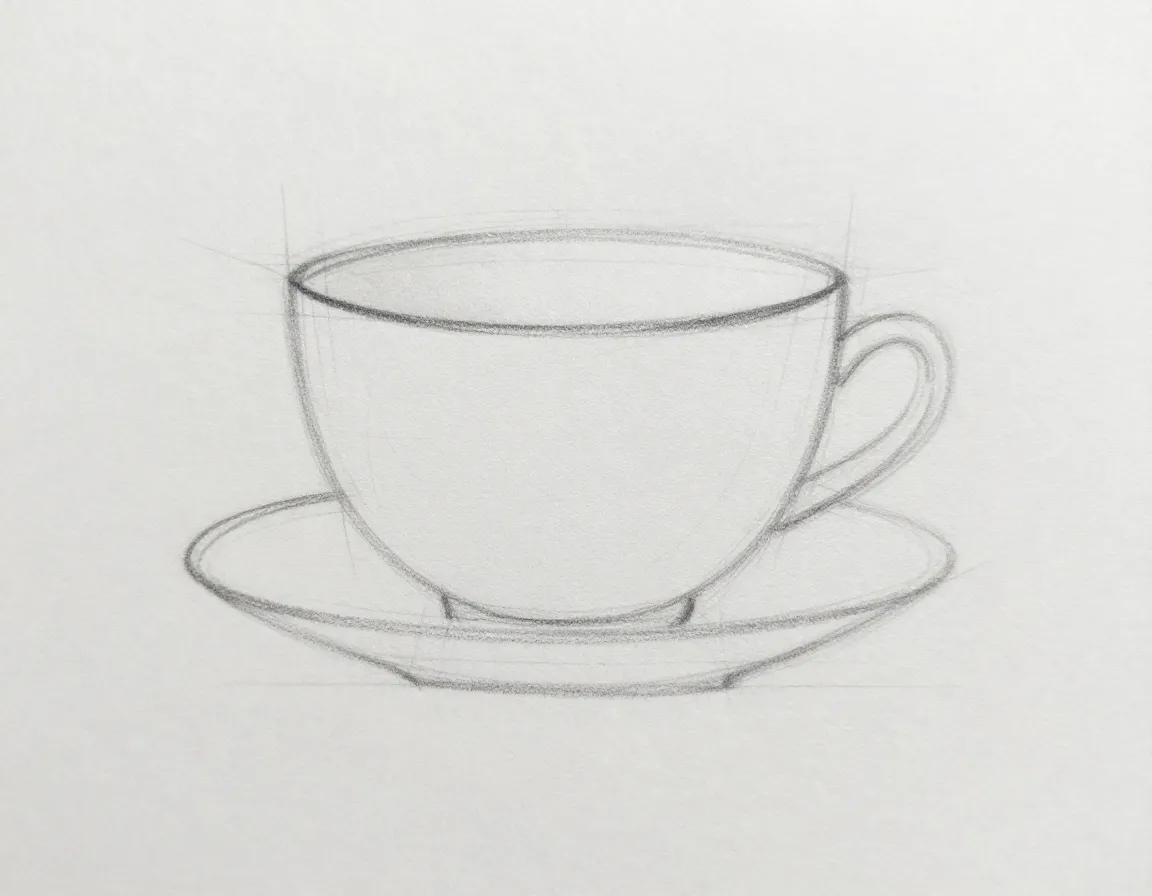
3. Connect the Ovals with Curved Lines
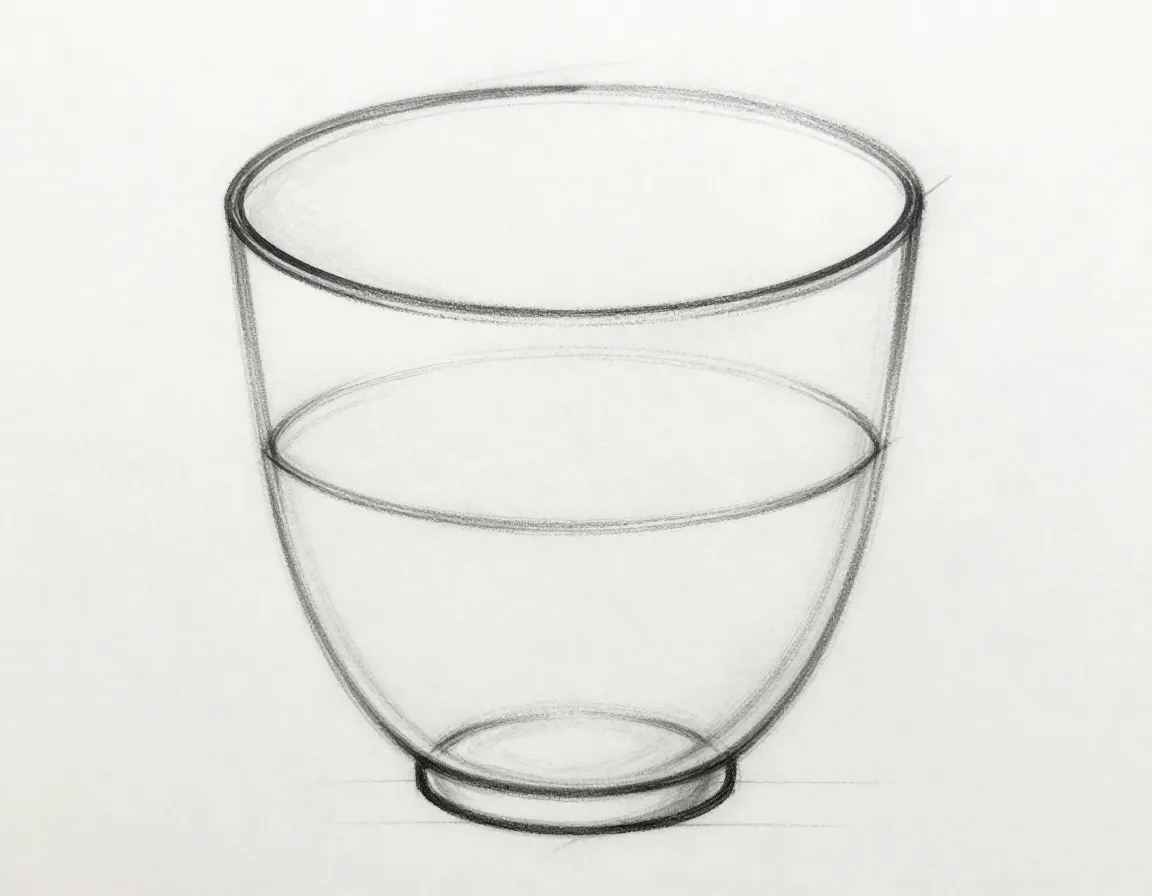
Now comes the exciting part – connecting your ovals to form the cup’s sides! Draw gentle, curved lines from the edges of the top oval down to the edges of the bottom oval. These lines should curve slightly inward, creating the characteristic tapered shape of a tea cup.
Important: The left and right sides should be symmetrical. If one side looks different from the other, gently erase and redraw until you achieve balance.
4. Add the Cup’s Base
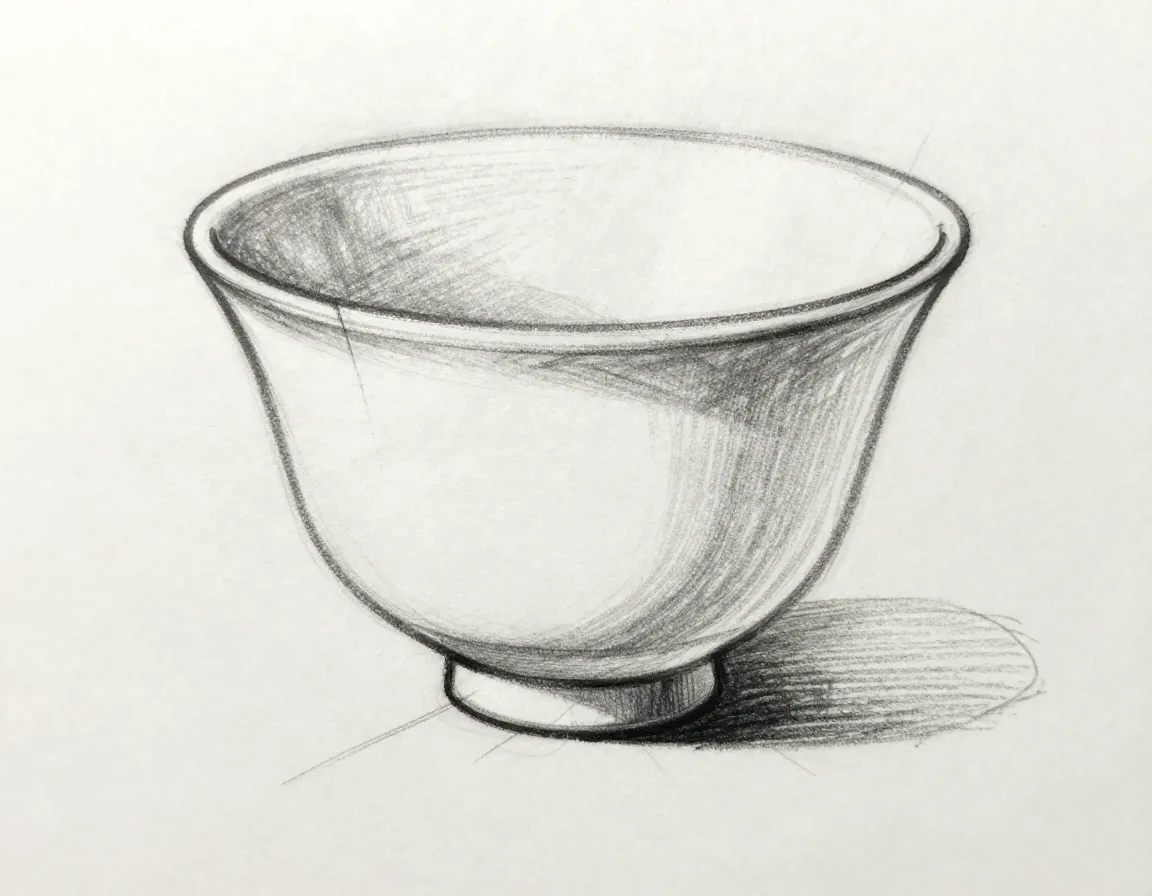
Every tea cup needs a stable base. Draw a small, flat oval at the bottom of your cup, slightly smaller than the body oval. This creates the foot of the cup and gives it a grounded appearance.
Connect this base to the cup body with short, curved lines on each side. These connections should be smooth and natural-looking, as if the base flows seamlessly from the cup body.
5. Sketch the Handle Framework
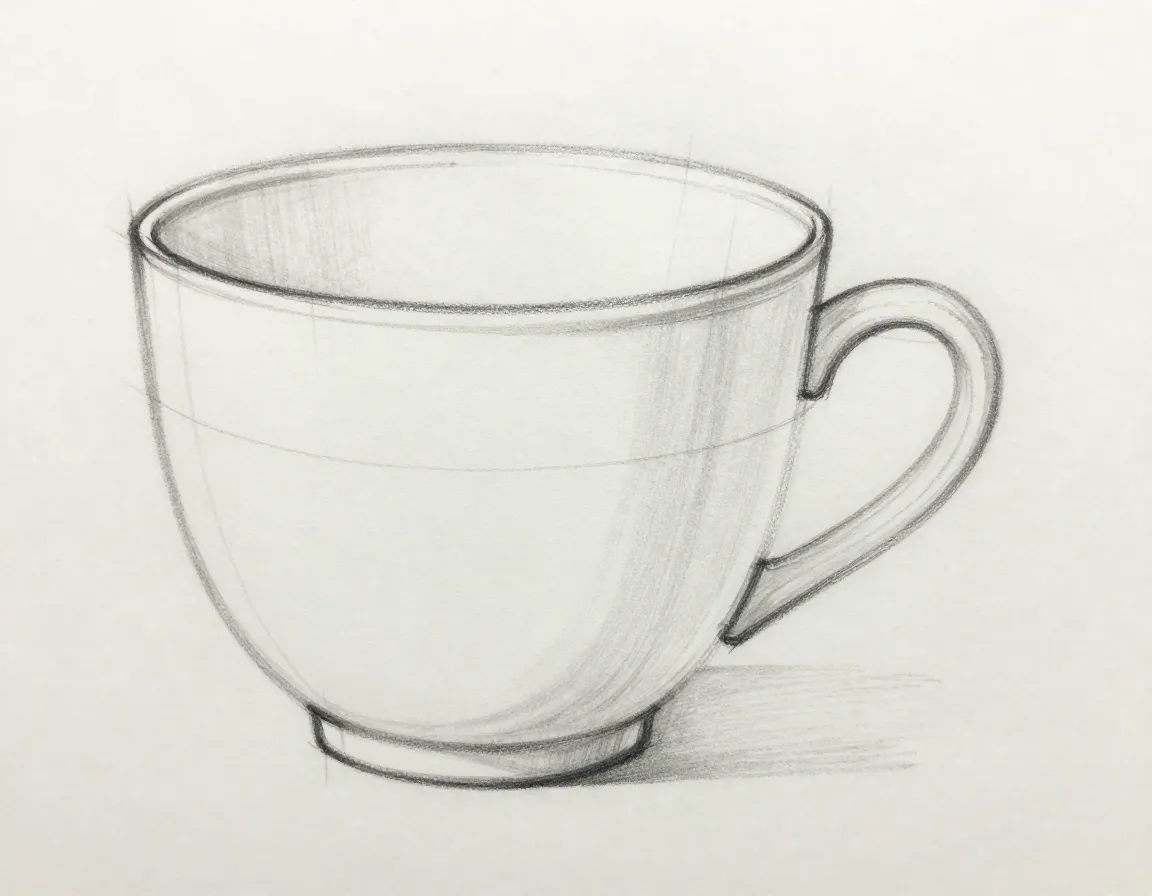
The tea cup handle is often where beginners struggle most, but breaking it down makes it manageable. Start by drawing two curved lines extending from the right side of your cup (or left, if you prefer).
Handle proportions:
- Height: The handle should extend from about 1/3 down from the rim to 2/3 down the cup body
- Width: Extend outward roughly half the width of the cup body
- Curve: Create a graceful C-shape that’s comfortable to hold
6. Complete the Handle Details
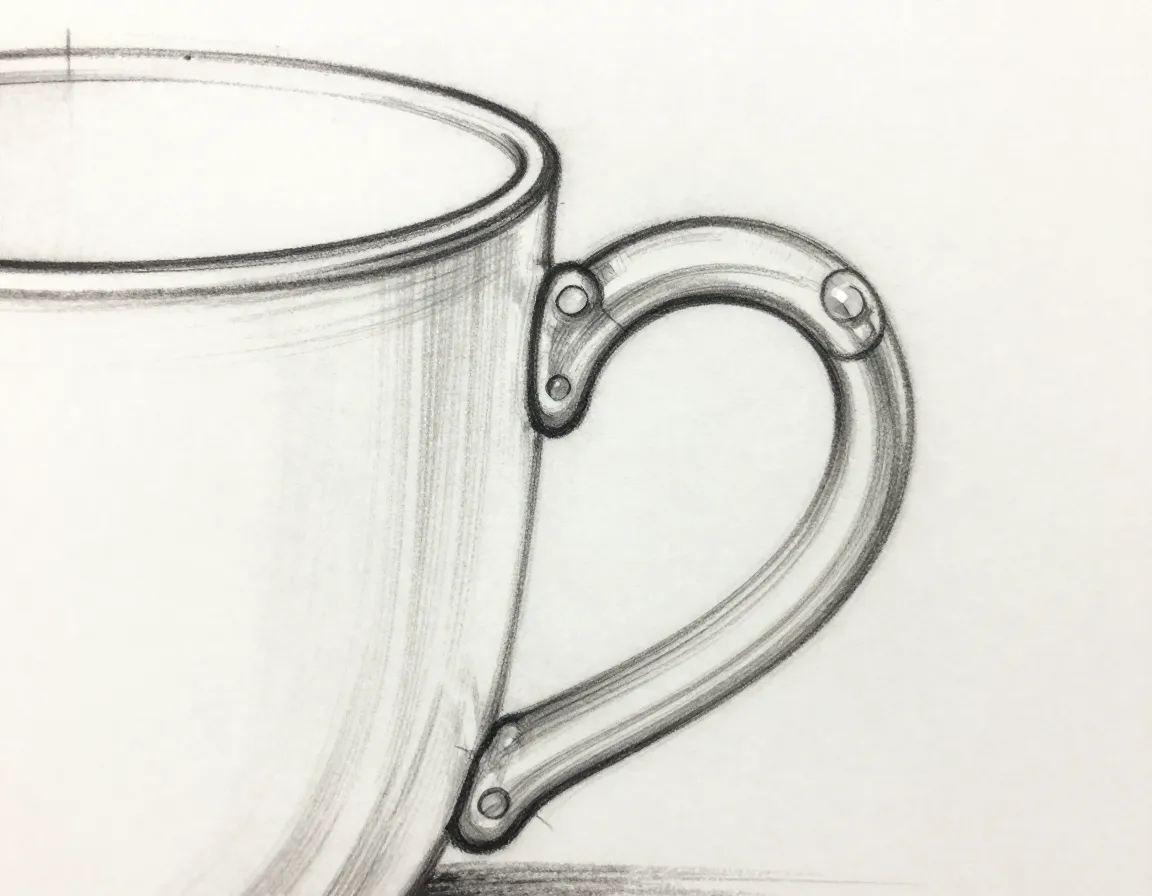
Now thicken your handle by drawing a second set of curved lines parallel to your first set. This creates the three-dimensional appearance of the handle. The handle should be thicker where it connects to the cup and slightly thinner in the middle.
Connection points are crucial – make sure your handle appears to be solidly attached to the cup body. Add small curved lines where the handle meets the cup to show these connection points clearly.
7. Refine Your Lines and Add Details
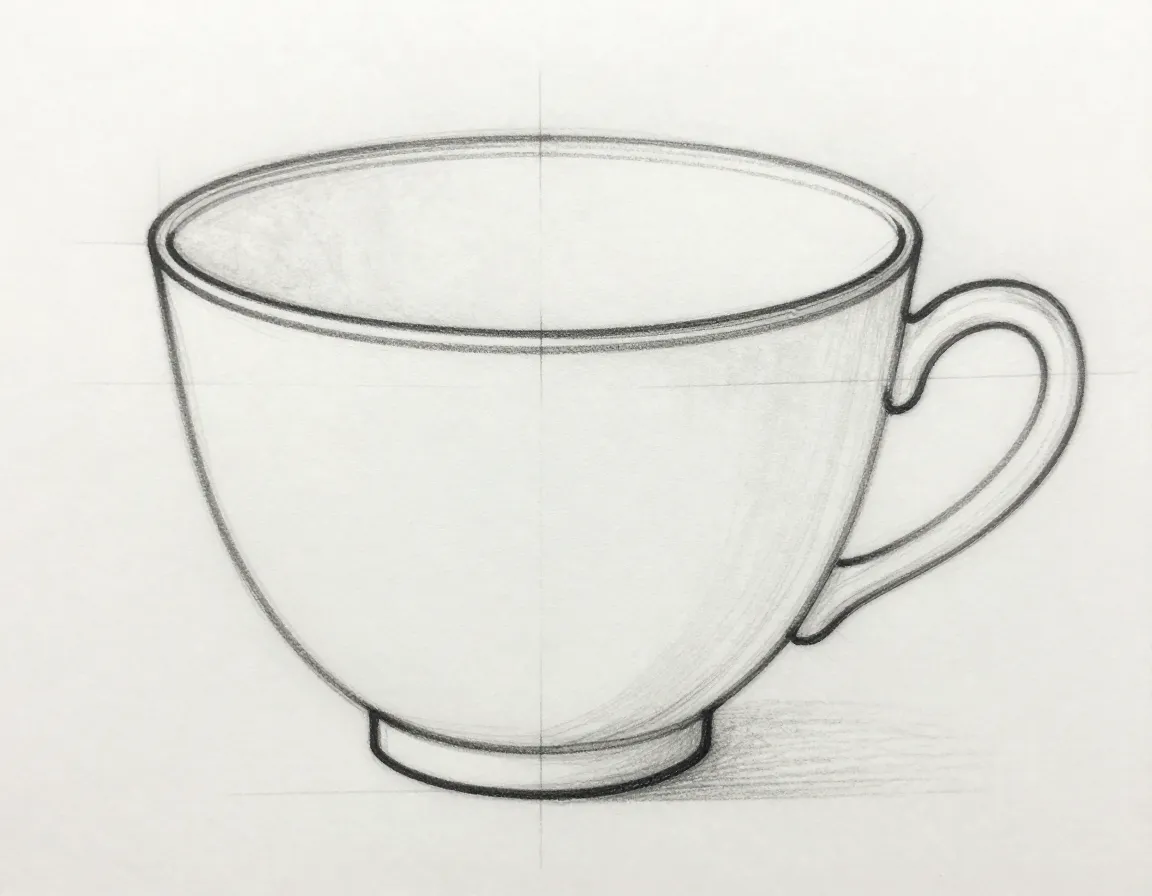
This step involves cleaning up your drawing and adding finishing touches. Erase any construction lines that are no longer needed, and darken the main outline of your tea cup.
Consider adding subtle details like:
- A slight thickness to the rim of the cup
- Gentle curves that show the cup’s roundness
- Clean, confident lines that define the final shape
8. Apply Shading and Final Touches
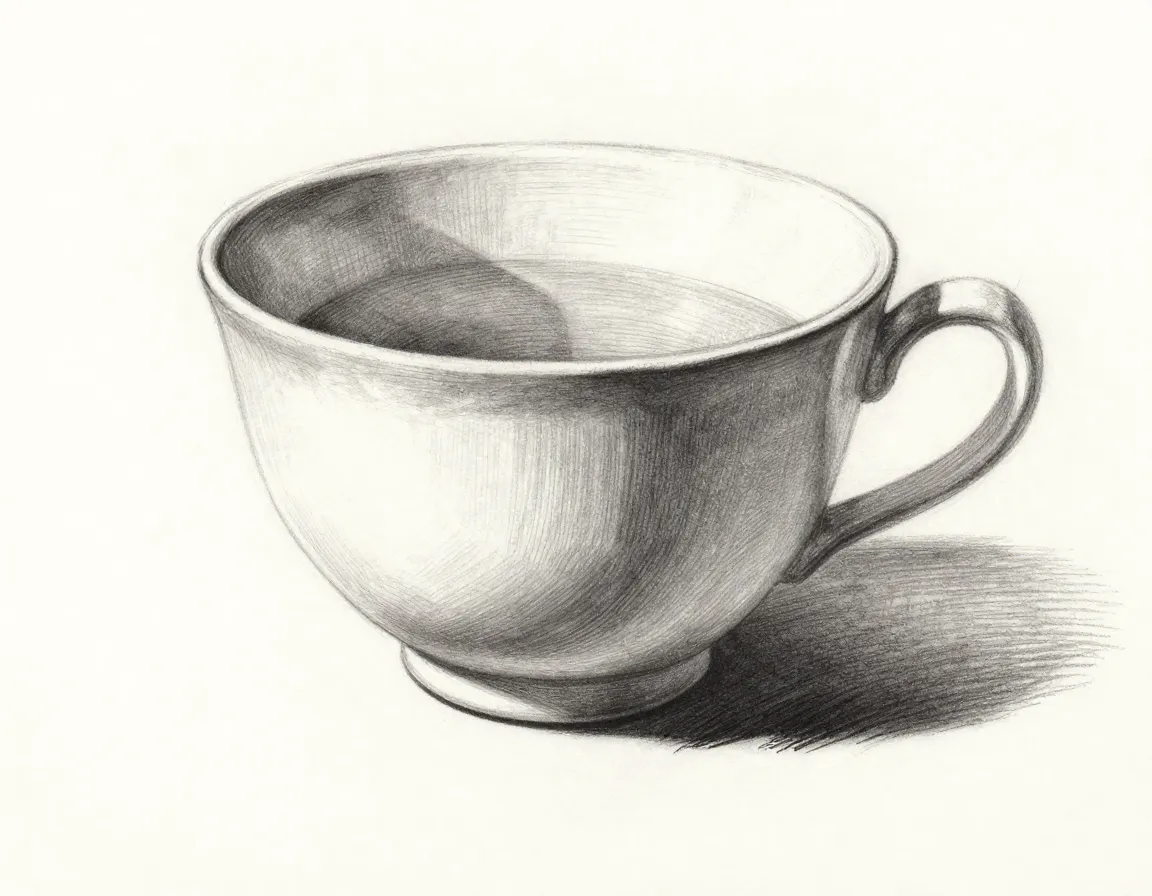
The final step transforms your line drawing into a three-dimensional masterpiece. Basic shading techniques include:
Light source consideration: Decide where your light is coming from (typically upper left) and shade accordingly.
Shading areas:
- Inside the cup: Darker at the bottom, lighter near the rim
- Cup body: Darker on the side opposite your light source
- Handle: Cast shadow on the cup body behind it
- Base: Subtle shadow underneath for grounding
Use your 2B pencil for darker areas and blend gently with tissue paper for smooth transitions.
Advanced Tips for Perfecting Your Tea Cup Drawing Technique
Once you’ve mastered the basic how to draw a tea cup: 8 easy steps for beginners approach, you can enhance your skills with these advanced techniques.
Mastering Proportions and Perspective
Understanding proportions is key to creating believable tea cup drawings. Study real tea cups and notice how the rim appears as an ellipse when viewed from an angle, not a perfect circle. The degree of this ellipse changes based on your viewing angle.
Perspective tips:
- Eye level view: The rim appears as a thin line
- Above view: The rim becomes a wider ellipse
- Below view: You see more of the inside of the cup
Adding Personality with Different Styles
Don’t limit yourself to one type of tea cup! Experiment with various styles:
Classic styles to try:
- Delicate porcelain cups with thin walls and elegant handles
- Sturdy ceramic mugs with thicker bodies and larger handles
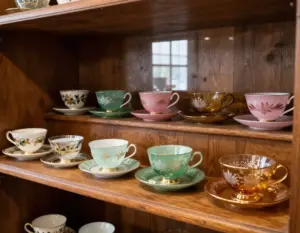
- Vintage teacups with decorative patterns and ornate details
- Modern minimalist designs with clean lines and simple forms
Common Mistakes and How to Avoid Them
Learning from common errors can accelerate your progress:
Frequent beginner mistakes:
- Asymmetrical cups: Practice drawing guidelines to maintain symmetry
- Floating handles: Ensure handles connect properly to the cup body
- Flat appearance: Add shading to create depth and dimension
- Wrong proportions: Study real tea cups to understand natural proportions
Practice Exercises to Improve Your Skills
Consistent practice is essential for mastering how to draw a tea cup: 8 easy steps for beginners. Here are structured exercises to build your skills:
Daily Practice Routine
Week 1-2: Foundation Building
- Draw 5 basic tea cup shapes daily
- Focus on clean, symmetrical ovals
- Practice connecting shapes smoothly
Week 3-4: Handle Mastery
- Dedicate each session to perfecting handles
- Try different handle styles and sizes
- Work on natural connection points
Week 5-6: Shading and Dimension
- Practice basic shading techniques
- Experiment with different light sources
- Add cast shadows and highlights
Progressive Challenges
As you become more comfortable, challenge yourself with:
Level 2 challenges:
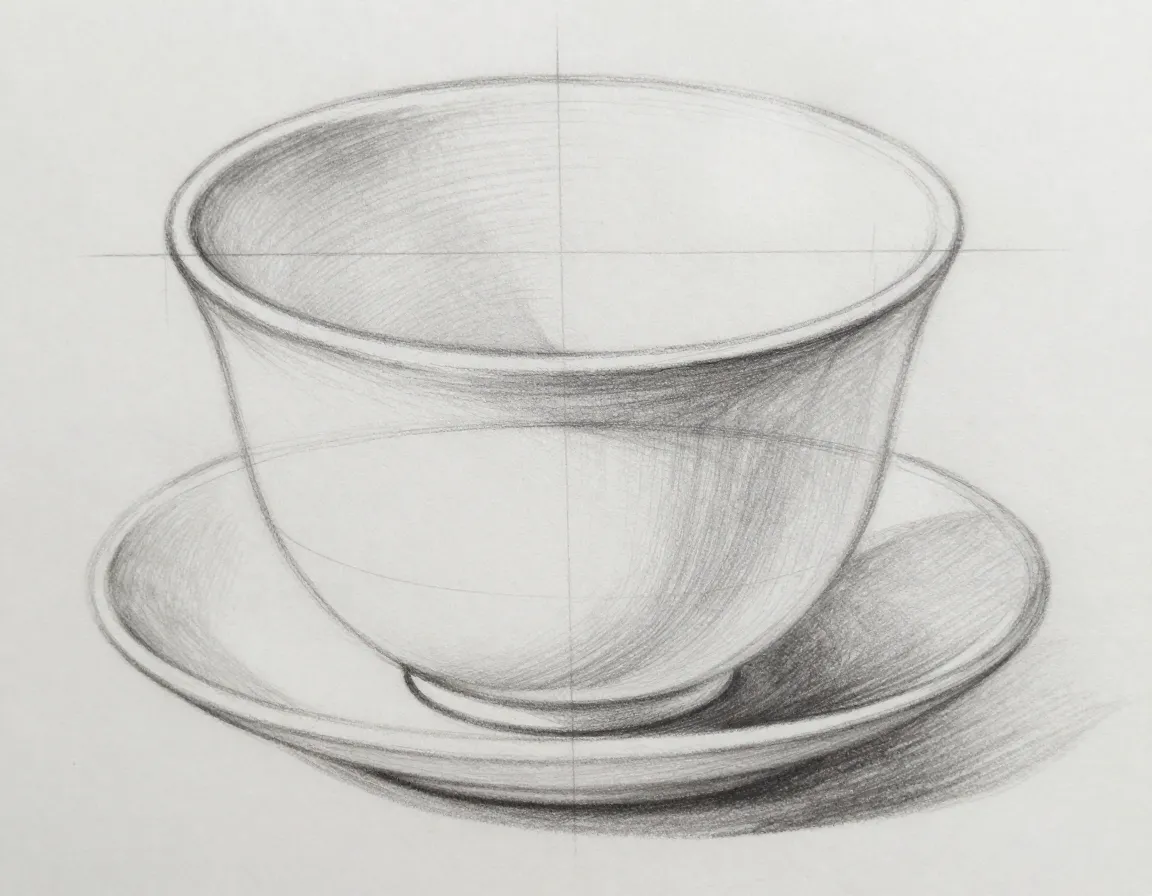
- Tea cups with saucers: Add a matching plate beneath your cup
- Multiple cups: Draw several cups in a group setting
- Decorated cups: Add patterns, flowers, or text designs
- Different angles: Practice drawing from various viewpoints
Level 3 challenges:
- Tea cups with steam: Add wispy steam lines rising from hot tea
- Reflective surfaces: Practice drawing shiny or glossy cup surfaces
- Complex compositions: Include tea cups in still-life arrangements
Learning from Video Tutorials
While written guides provide excellent foundations, video tutorials offer dynamic visual learning[2][3][4][5]. Watching experienced artists demonstrate techniques can reveal subtleties that are difficult to convey in text alone.
Benefits of video learning:
- Real-time technique demonstration: See exactly how pencil strokes are made
- Multiple style exposure: Learn different artistic approaches
- Mistake correction: Watch how artists fix common errors
- Pacing guidance: Understand the rhythm of drawing
Many artists find that combining written instructions with video demonstrations accelerates their learning process significantly.
Troubleshooting Common Drawing Problems
Even with careful attention to our how to draw a tea cup: 8 easy steps for beginners guide, you might encounter specific challenges. Let’s address the most common issues:
Handle Attachment Issues
Problem: Handles that look disconnected or awkward
Solution:
- Study real tea cup handles to understand natural attachment points
- Draw connection lines that show the handle flowing from the cup body
- Practice drawing handles from different angles
- Add subtle shading where the handle meets the cup
Symmetry Struggles
Problem: Lopsided or uneven tea cups
Solution:
- Use light guidelines to mark the center axis of your cup
- Draw both sides simultaneously, checking frequently for balance
- Hold your drawing up to a mirror to spot asymmetries
- Practice drawing geometric shapes to improve your natural symmetry sense
Proportion Difficulties
Problem: Tea cups that look too wide, tall, or have oversized handles
Solution:
- Measure proportions using your pencil as a measuring tool
- Study photographs of real tea cups for reference
- Start with very light construction lines before committing to final shapes
- Practice drawing from life when possible
Building Your Artistic Confidence
Learning how to draw a tea cup: 8 easy steps for beginners is about more than just creating one drawing – it’s about building fundamental skills that transfer to all areas of art.
The Power of Consistent Practice
Daily drawing habits create remarkable improvements over time. Even 15-20 minutes of focused practice can yield significant results within a few weeks. Keep a small sketchbook dedicated to tea cup drawings and fill one page each day.
Tracking your progress:
- Date each drawing to see improvement over time
- Note specific techniques you practiced each session
- Celebrate small victories and improvements
- Don’t compare your beginner work to expert examples
Expanding Beyond Tea Cups
Once you’ve mastered tea cup drawing, you’ll find these skills naturally extend to other subjects:
Related subjects to try:
- Coffee mugs: Similar shapes with different proportions
- Wine glasses: Elegant stems and bowl shapes
- Bowls and plates: Circular forms with different depths
- Vases and pottery: More complex curved forms
Joining the Artist Community
Consider sharing your progress with others who are learning to draw. Online communities, local art groups, and social media platforms provide encouragement and constructive feedback that can accelerate your learning.
Conclusion
Mastering how to draw a tea cup: 8 easy steps for beginners opens the door to a lifetime of artistic enjoyment and skill development. From those first tentative oval shapes to confidently shaded, three-dimensional drawings, each step builds essential drawing fundamentals that will serve you well in all future artistic endeavors.
Remember that every professional artist started exactly where you are now – with basic shapes and simple subjects. The tea cup you draw today might not match your vision perfectly, but it represents an important step in your artistic journey. Each drawing teaches you something new about proportion, shading, line quality, and observation skills.
Your next steps:
- Start today: Gather your basic materials and draw your first tea cup using our 8-step method
- Practice consistently: Dedicate 15-20 minutes daily to tea cup drawing exercises
- Experiment boldly: Try different styles, angles, and decorative elements
- Seek feedback: Share your work with other learners or experienced artists
- Expand gradually: Apply these skills to related subjects like mugs, glasses, and pottery
The journey from beginner to confident artist happens one drawing at a time. Your tea cup sketches today are building the foundation for the amazing artwork you’ll create tomorrow. Pick up that pencil, embrace the learning process, and enjoy discovering the artist within you! 🎨
References
[1] How To Draw A Tea Cup – https://easydrawingguides.com/how-to-draw-a-tea-cup/
[2] Watch – https://www.youtube.com/watch?v=HtBVsh_B0cc
[3] Watch – https://www.youtube.com/watch?v=lRtrLnFFOMQ
[4] Watch – https://www.youtube.com/watch?v=1q3ajX6akUw
[5] Watch – https://www.youtube.com/watch?v=uxkUclHsTQU
[6] Playlist – https://www.youtube.com/playlist?list=PLnUSSBnAGTVlnAP_TCoVUpKia-jY5cLJG