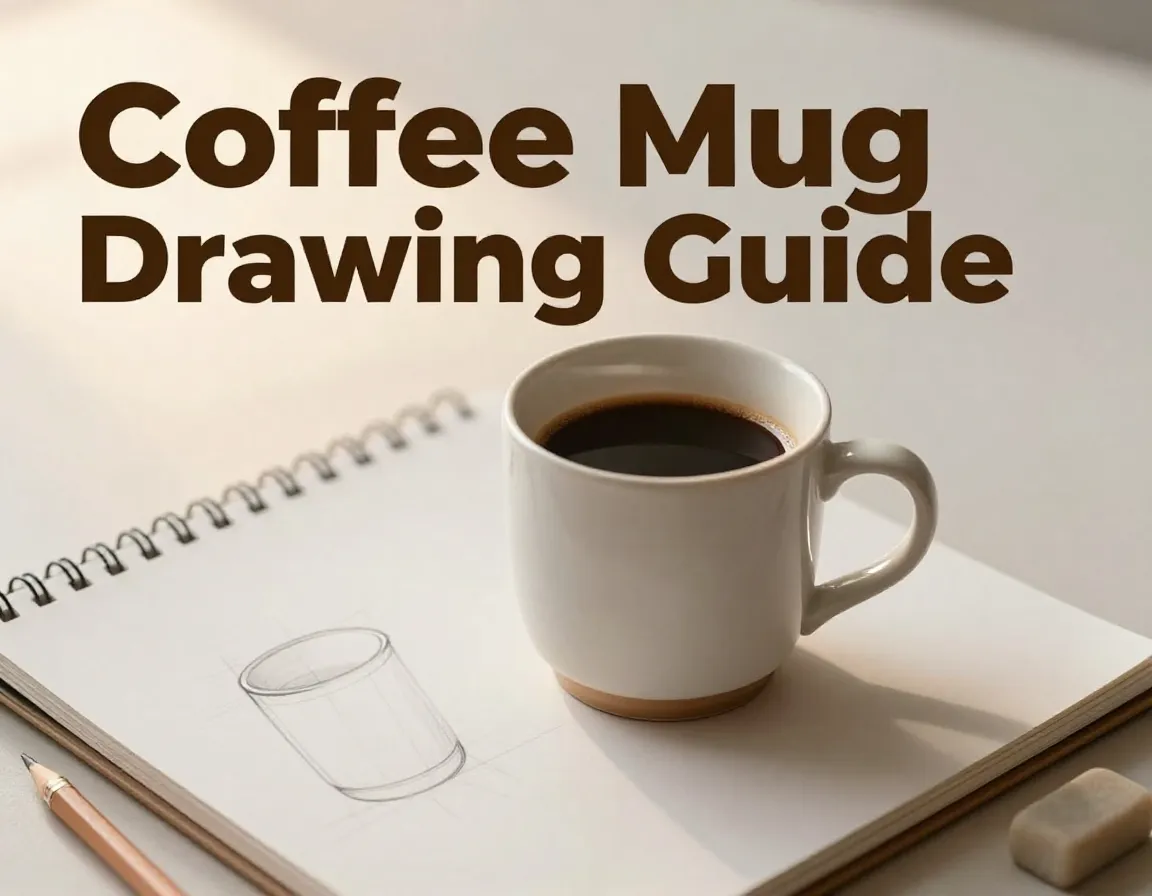
8 Simple Steps for a Perfect Drawing of a Coffee Mug
Have you ever sat in a cozy café, admiring the simple elegance of a coffee mug, and thought, “I wish I could capture that on paper”? Drawing a coffee mug might seem straightforward at first glance, but creating a truly compelling and realistic representation requires understanding fundamental drawing principles, proper proportions, and effective shading techniques. Whether you’re a complete beginner picking up a pencil for the first time or an experienced artist looking to refine your skills, mastering the 8 Simple Steps for a Perfect Drawing of a Coffee Mug will transform your artistic abilities and boost your confidence in drawing everyday objects.
In this comprehensive guide, I’ll walk you through each step of the drawing process, from initial shape construction to final details that bring your coffee mug to life. You’ll discover professional techniques used by skilled artists, learn how to avoid common mistakes, and gain the knowledge needed to create stunning coffee mug illustrations that capture both form and character.
Key Takeaways
- Master basic shapes first – Every perfect coffee mug drawing starts with simple geometric forms like cylinders and ellipses
- Focus on proportions and perspective – Understanding proper ratios and viewpoint angles creates realistic and visually appealing results
- Develop shading skills gradually – Light, shadow, and highlight placement transform flat drawings into three-dimensional masterpieces
- Practice consistently with reference materials – Regular sketching sessions with real coffee mugs improve observation skills and technique
- Add personal style and details – Once you master the fundamentals, incorporate unique elements to make your coffee mug drawings distinctive
Understanding the Fundamentals of Coffee Mug Drawing
Before diving into the 8 Simple Steps for a Perfect Drawing of a Coffee Mug, it’s essential to understand what makes a coffee mug drawing successful. A well-executed coffee mug illustration demonstrates several key artistic principles:
Proportion and Scale ⚖️
The relationship between the mug’s height, width, and handle size determines whether your drawing looks realistic or distorted. Most standard coffee mugs follow a height-to-width ratio of approximately 3:2, with the handle extending roughly one-third the mug’s height.
Perspective and Viewpoint 👁️
The angle from which you view the coffee mug dramatically affects the drawing’s complexity and visual impact. A three-quarter view typically provides the most interesting and manageable perspective for beginners, showing both the front face and one side while revealing the mug’s depth.
Light and Shadow Dynamics 💡
Understanding how light interacts with the mug’s curved surfaces creates the illusion of three-dimensional form. Coffee mugs have both convex (outward curving) and concave (inward curving) surfaces that reflect and absorb light differently.
Materials and Preparation for Your Coffee Mug Drawing
Selecting the right materials significantly impacts your drawing experience and final results. Here’s what I recommend for creating professional-quality coffee mug illustrations:
Essential Drawing Supplies
Pencils ✏️
- 2H pencil for initial light sketching and construction lines
- HB pencil for general drawing and medium tones
- 2B pencil for darker shadows and bold lines
- 4B pencil for deep shadows and rich contrast
Paper and Surfaces 📄
- Medium-weight drawing paper (140gsm or heavier) prevents buckling
- Smooth to medium texture allows for clean lines and smooth shading
- Size recommendation: 9×12 inches provides ample working space
Additional Tools 🛠️
- Kneaded eraser for gentle corrections and highlight creation
- Blending stump for smooth shadow transitions
- Ruler for measuring proportions and construction guidelines
Setting Up Your Workspace
Creating an optimal drawing environment enhances focus and reduces fatigue:
- Adequate lighting – Position your workspace near a window or use a bright desk lamp
- Comfortable seating – Maintain good posture to prevent hand cramping
- Reference material – Place a real coffee mug nearby for observation
- Clean surface – Keep your drawing area free from distractions
The Complete 8 Simple Steps for a Perfect Drawing of a Coffee Mug
Now let’s explore each step in detail, building your coffee mug drawing from basic shapes to a finished masterpiece.
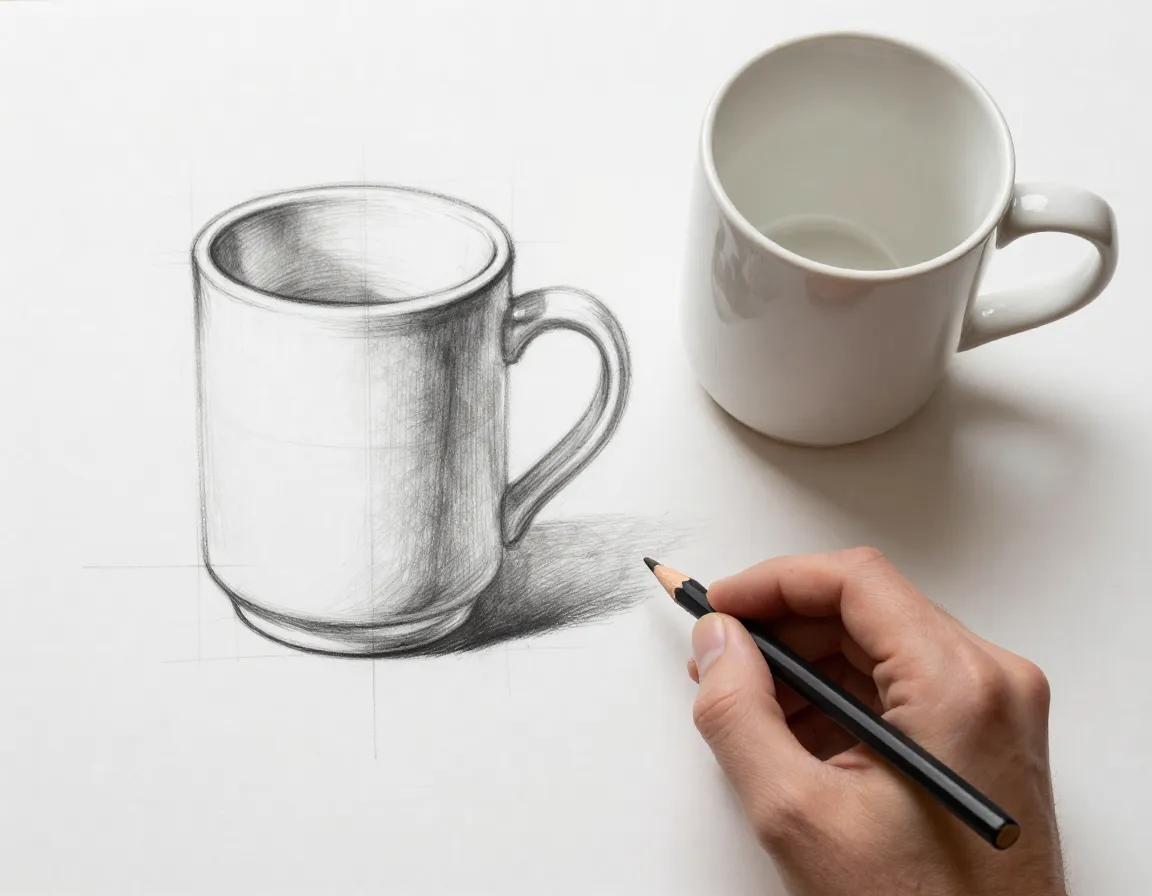
1. Establish the Basic Cylinder Shape

Begin your coffee mug drawing by constructing the fundamental cylindrical form. This foundational step determines the overall proportions and perspective of your finished drawing [2].
Step-by-Step Process:
- Draw a light vertical line to establish the mug’s central axis
- Sketch two horizontal ellipses – one for the top rim and one for the base
- Connect these ellipses with straight vertical lines to form the cylinder
- Keep your lines light and loose during this construction phase
Pro Tip: The top ellipse should appear more open (wider) than the bottom ellipse due to perspective. This creates the illusion that you’re looking slightly down into the mug.
2. Define the Mug’s Proportions and Contours
Refine the basic cylinder by adjusting the proportions and adding the characteristic coffee mug shape. Most coffee mugs taper slightly from top to bottom and have gently curved sides rather than perfectly straight edges.
Key Measurements:
- Height: Typically 1.5 times the width
- Rim thickness: About 1/8 of the total mug width
- Base width: Slightly narrower than the rim opening
Adjust your construction lines to create subtle curves that give the mug a more organic, realistic appearance. Coffee mugs rarely have perfectly geometric shapes, so embrace gentle variations in the contour.
3. Add the Handle Structure
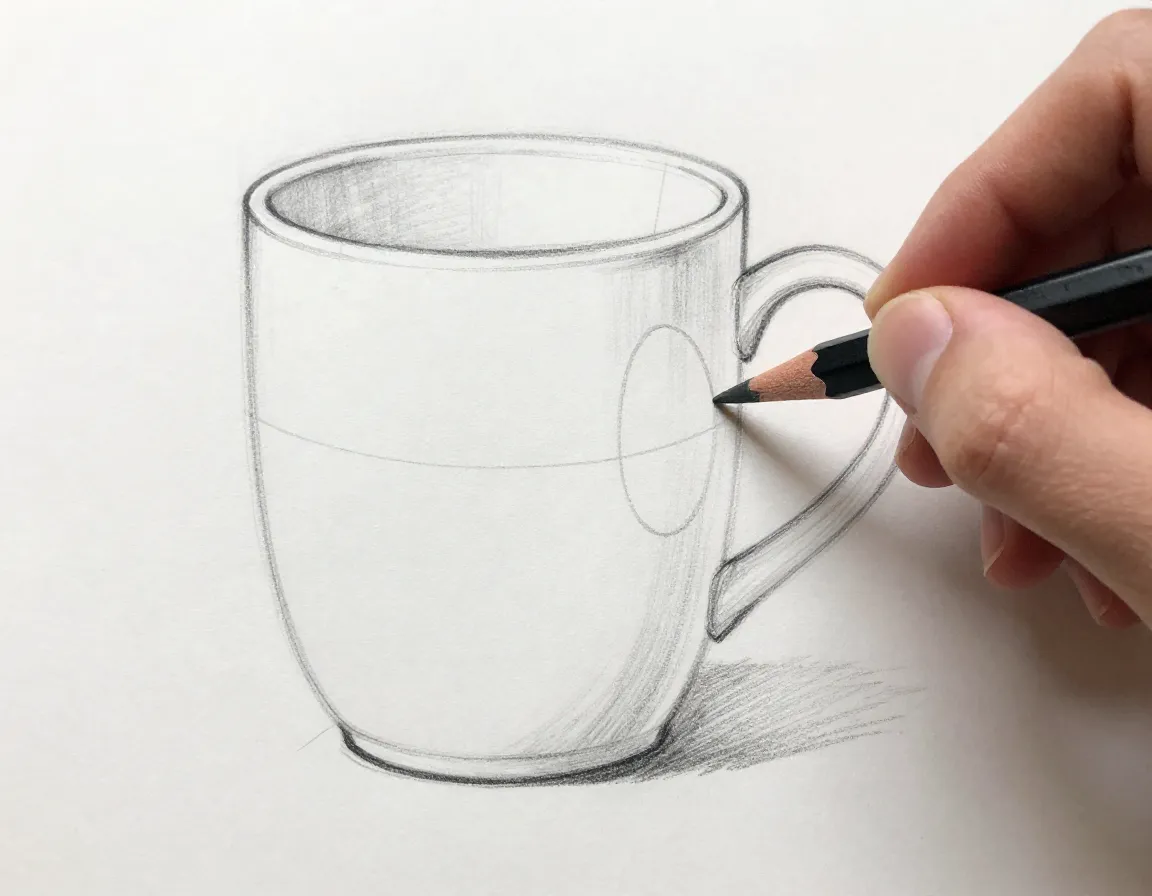
The coffee mug handle is often the most challenging element for beginners, but breaking it down into simple shapes makes the process manageable [1].
Handle Construction Method:
- Start with a simple oval or elongated loop shape
- Position the handle approximately 1/3 down from the rim
- Make the handle width about 1/4 of the mug’s total width
- Ensure the handle curves naturally away from the mug body
Common Handle Mistakes to Avoid:
- Making the handle too large or too small
- Positioning it too high or too low on the mug
- Creating awkward angles that look uncomfortable to hold
- Forgetting to show the handle’s thickness and depth
4. Establish the Light Source and Basic Shadows
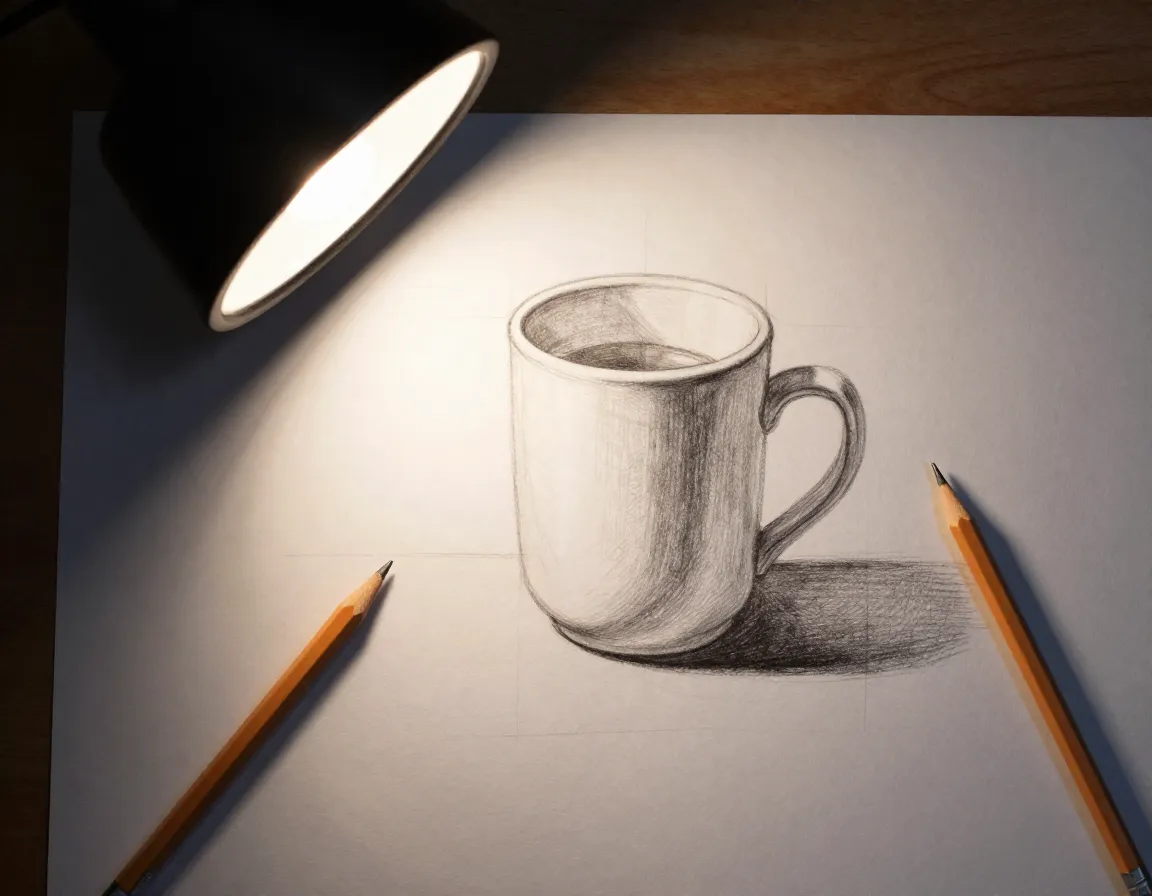
Determining your light source early in the drawing process guides all subsequent shading decisions. Choose a consistent light direction and stick with it throughout the entire drawing [4].
Light Source Considerations:
- Top-left lighting is most common and natural-looking
- Strong directional light creates dramatic contrast and clear shadows
- Soft diffused light produces gentle gradations and subtle shadows
Mark the areas that will receive direct light (highlights), areas in shadow, and the cast shadow the mug creates on the surface below. This roadmap prevents confusion during the shading process.
5. Develop Form Through Gradual Shading

Begin adding three-dimensional form to your coffee mug through careful shading. Start with light tones and gradually build darker values where needed.
Shading Progression:
- Step 1: Apply light base tones to areas not receiving direct light
- Step 2: Develop medium tones in transitional areas between light and shadow
- Step 3: Add darker shadows in areas completely blocked from light
- Step 4: Deepen the darkest shadows for maximum contrast
Blending Techniques:
Use circular motions with your blending stump to create smooth transitions between different tone values. Avoid harsh lines between light and shadow areas unless you’re depicting very strong, direct lighting.
6. Refine Details and Surface Textures
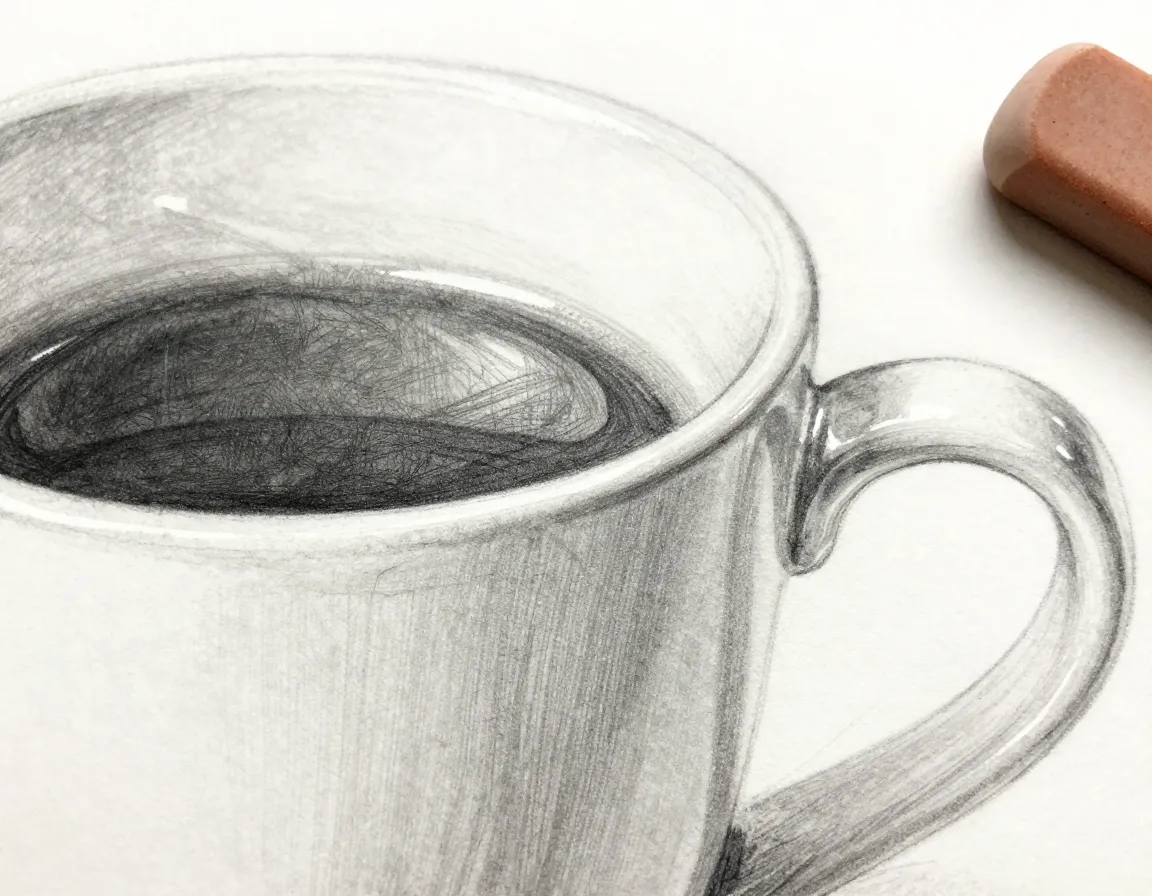
With the basic form established, focus on the subtle details that make your coffee mug drawing convincing and engaging [3].
Detail Elements to Consider:
- Rim thickness – Show the ceramic edge and interior curve
- Handle attachment points – Indicate where the handle connects to the mug body
- Surface reflections – Add subtle highlights that suggest the mug’s glossy finish
- Interior shadows – Darken the inside of the mug to show depth
Texture Techniques:
Most coffee mugs have a smooth, slightly reflective surface. Create this effect through:
- Smooth, even shading without visible pencil strokes
- Strategic highlight placement along curved surfaces
- Subtle reflected light in shadow areas
7. Enhance Contrast and Add Final Highlights
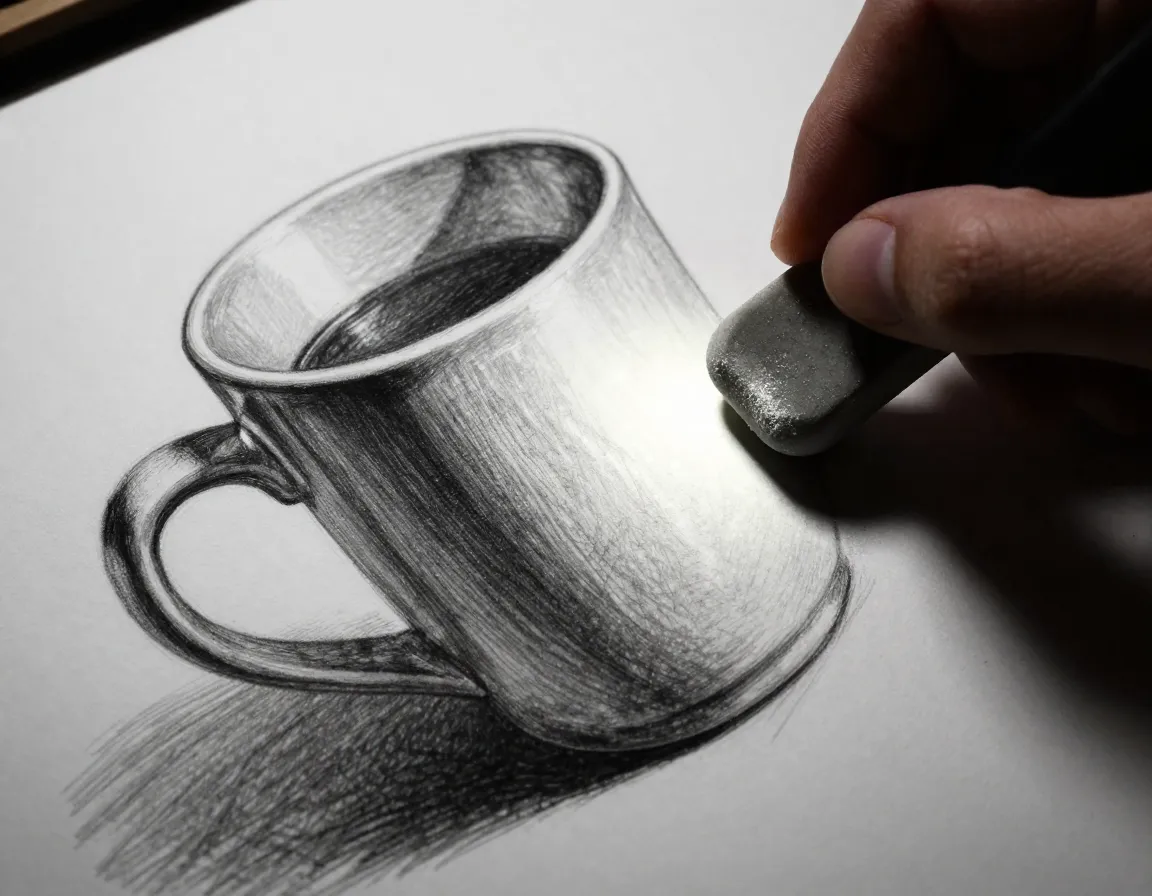
This step transforms your drawing from good to exceptional by pushing the contrast and adding convincing highlights that suggest the mug’s material properties.
Contrast Enhancement:
- Darken the deepest shadows using your softest pencil (4B)
- Ensure a full range of values from pure white to rich black
- Check that your drawing reads clearly from a distance
Highlight Placement:
Use your kneaded eraser to create bright highlights on:
- The rim’s top edge where light hits directly
- The curved body surface facing the light source
- The handle’s top edge and facing surfaces
- Any decorative elements or surface details
8. Final Refinements and Environmental Context

Complete your coffee mug drawing by adding final touches and considering the mug’s relationship to its environment.
Final Checklist:
- Proportions – Verify all measurements look natural and balanced
- Perspective – Ensure ellipses and angles remain consistent
- Values – Check for a full range of light to dark tones
- Details – Add any final surface textures or decorative elements
Environmental Integration:
Consider adding:
- A simple surface line to ground the mug
- A subtle cast shadow to anchor the object
- Background elements like a table edge or simple backdrop
- Steam rising from the mug for added atmosphere ☕
Advanced Techniques for Coffee Mug Drawing Mastery
Once you’ve mastered the 8 Simple Steps for a Perfect Drawing of a Coffee Mug, explore these advanced techniques to elevate your artistic skills further.
Exploring Different Coffee Mug Styles
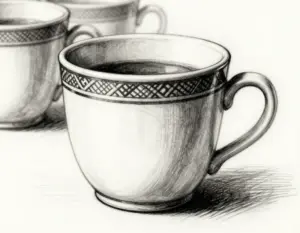
Classic Ceramic Mugs 🏺
Traditional ceramic mugs offer excellent practice for fundamental shading and form. Their smooth surfaces clearly show light and shadow relationships, making them ideal for beginners developing their skills.
Textured and Patterned Mugs 🎨
Mugs with surface textures, patterns, or decorative elements challenge your observation skills and require more complex shading approaches. Practice with:
- Ribbed or corrugated surfaces
- Printed patterns and logos
- Glazed versus matte finishes
- Colored or decorated ceramics
Alternative Materials ✨
Expand your drawing repertoire by tackling mugs made from different materials:
- Metal travel mugs with reflective surfaces
- Glass mugs showing transparency and refraction
- Enamel camping mugs with unique surface properties
Compositional Variations and Viewpoints
Multiple Perspective Practice 📐
Challenge yourself by drawing the same mug from various angles:
- Straight-on view emphasizing symmetry and front-facing details
- Bird’s eye view showing the interior and rim ellipse clearly
- Worm’s eye view creating dramatic perspective from below
- Profile view simplifying the form to focus on silhouette
Complex Compositions 🖼️
Create more interesting drawings by incorporating multiple elements:
- Coffee mugs with saucers and spoons
- Grouped arrangements of different mug styles
- Mugs in realistic environments (kitchen counters, office desks)
- Still life compositions with complementary objects
Color and Media Exploration
Graphite Alternatives 🎭
While this guide focuses on pencil drawing, consider experimenting with:
- Charcoal for dramatic, high-contrast coffee mug studies [4]
- Colored pencils for realistic color representation
- Digital drawing tools for modern illustration techniques
- Ink and wash for expressive, loose interpretations
Common Mistakes and How to Avoid Them
Learning from common errors accelerates your progress and prevents frustrating setbacks in your coffee mug drawing journey.
Proportion and Perspective Errors
Mistake 1: Inconsistent Ellipses ❌
Many beginners struggle with drawing consistent elliptical shapes for the mug’s rim and base. The ellipses should follow the same perspective angle throughout the drawing.
Solution: Practice drawing ellipses separately before incorporating them into your mug drawings. Use light construction lines to maintain consistent angles.
Mistake 2: Handle Placement Issues ❌
Handles often appear awkwardly positioned or sized incorrectly in relation to the mug body.
Solution: Study real coffee mugs to understand natural handle proportions and placement. The handle should look comfortable and functional, not decorative.
Shading and Form Problems
Mistake 3: Flat, Unconvincing Shadows ❌
Beginners often apply shading uniformly without considering the mug’s curved form and light interaction.
Solution: Study how light wraps around cylindrical forms. Practice with simple geometric shapes before tackling complex objects.
Mistake 4: Overworking the Drawing ❌
Excessive blending and reworking can muddy the drawing and eliminate important contrast.
Solution: Work gradually and step back frequently to assess your progress. Sometimes less is more in creating convincing form.
Technical Drawing Issues
Mistake 5: Inconsistent Line Quality ❌
Mixing heavy and light lines randomly creates visual confusion and undermines the drawing’s professional appearance.
Solution: Establish a clear hierarchy of line weights. Construction lines should remain light, while final contours can be darker and more definitive.
Building Your Coffee Mug Drawing Skills Through Practice
Consistent practice is the key to mastering the 8 Simple Steps for a Perfect Drawing of a Coffee Mug and developing your overall artistic abilities.
Structured Practice Routines
Daily Sketch Sessions 📅
Dedicate 15-30 minutes daily to coffee mug drawing practice:
- Week 1-2: Focus on basic shapes and proportions
- Week 3-4: Emphasize handle construction and placement
- Week 5-6: Develop shading and form rendering skills
- Week 7-8: Practice different viewpoints and compositions
Progressive Skill Building 📈
Structure your practice sessions to build skills systematically:
- Warm-up exercises – Quick gesture drawings and shape studies
- Focused practice – Work on specific techniques or problem areas
- Complete drawings – Apply all skills in finished illustrations
- Review and analysis – Compare your work to reference materials
Reference Material and Inspiration
Real-World Observation 🔍
Nothing replaces drawing from life. Collect various coffee mugs to use as reference materials:
- Different sizes and proportions
- Various handle styles and attachments
- Multiple surface textures and finishes
- Interesting decorative elements
Digital Resources 💻
Supplement your practice with online resources:
- High-quality photographs for reference
- Video tutorials demonstrating techniques [1][3][5]
- Online drawing communities for feedback and inspiration
- Digital galleries showcasing professional coffee mug illustrations
Conclusion
Mastering the 8 Simple Steps for a Perfect Drawing of a Coffee Mug provides you with fundamental skills that extend far beyond this single subject. Through systematic practice of construction, proportion, perspective, and shading techniques, you’ve developed observational abilities and technical skills applicable to countless drawing subjects.
The journey from basic shapes to finished coffee mug illustrations demonstrates the power of breaking complex subjects into manageable steps. Each element you’ve learned – from establishing proper proportions to creating convincing highlights – builds upon previous knowledge and contributes to your growing artistic confidence.
Remember that artistic growth is a continuous process. The techniques you’ve mastered here serve as building blocks for more complex subjects and compositions. Continue practicing regularly, experiment with different styles and approaches, and don’t hesitate to challenge yourself with increasingly difficult subjects.
Your Next Steps
- Practice the 8 steps daily for at least two weeks to solidify the techniques
- Experiment with different coffee mug styles to expand your observational skills
- Try alternative drawing media like charcoal or colored pencils for variety
- Join online drawing communities to share your work and receive constructive feedback
- Apply these fundamental principles to other cylindrical objects like glasses, vases, or bottles
The skills you’ve developed through coffee mug drawing will serve you well as you tackle more complex subjects and continue your artistic journey. Keep your pencils sharp, your observation keen, and your practice consistent – your future drawings will thank you for the solid foundation you’ve built today! ☕✏️
References
[1] Watch – https://www.youtube.com/watch?v=HtBVsh_B0cc
[2] How To Draw A Coffee Mug – https://luukminkman.com/en/blog/how-to-draw-a-coffee-mug/
[3] Watch – https://www.youtube.com/watch?v=9zvVLeqITSs
[4] Watch – https://www.youtube.com/watch?v=3Td8vdYUrWI
[5] Watch – https://www.youtube.com/watch?v=5HTFlSfzJl8