8 Simple Steps on How to Do Cold Brew Coffee Perfectly
Picture this: It’s a sweltering summer morning in 2026, and while your neighbors are wrestling with hot coffee that’s making them sweat even more, you’re sipping a perfectly smooth, refreshing cold brew that you made yourself. No bitterness, no acidity—just pure coffee bliss that cost you a fraction of what you’d pay at your local café. If you’ve ever wondered how to master the art of cold brewing at home, you’re about to discover the 8 simple steps on how to do cold brew coffee perfectly that will transform your morning routine forever.
Cold brew isn’t just iced coffee—it’s a completely different brewing method that extracts the coffee’s natural sweetness while leaving behind the harsh acids and bitter compounds. The result? A concentrate so smooth and flavorful that once you learn these techniques, you’ll never want to buy overpriced cold brew again.
Key Takeaways
- Use coarse coffee grounds similar to French press consistency to prevent over-extraction and bitterness
- Maintain a 1:4 coffee-to-water ratio by weight for the perfect strength and flavor balance
- Steep for 12-24 hours at room temperature or in the refrigerator for optimal extraction
- Filter thoroughly using fine mesh and cheesecloth to achieve a smooth, grit-free final product
- Store properly in the refrigerator for up to two weeks to maintain freshness and quality
Understanding the Cold Brew Foundation: Why These 8 Simple Steps Matter
Before diving into the 8 simple steps on how to do cold brew coffee perfectly, it’s crucial to understand what makes cold brew special. Unlike traditional hot brewing methods that extract coffee compounds quickly with heat, cold brewing relies on time and proper technique to slowly draw out the coffee’s best flavors.
The magic happens during the extended steeping process, where cold water gradually extracts the coffee’s oils, sugars, and aromatic compounds while leaving behind most of the acids and bitter tannins that hot water would pull out immediately. This is why following each step precisely matters—every detail contributes to that signature smooth, sweet flavor profile that makes cold brew so addictive.
The Science Behind Perfect Cold Brew
When you brew coffee with hot water, you’re essentially forcing a rapid extraction that pulls out everything—good and bad. Cold brewing is more selective, taking 12-24 hours to extract primarily the compounds that taste amazing while naturally filtering out the harsh elements. This extended process requires specific ratios, grind sizes, and timing to work properly[1].
The key factors that make or break your cold brew:
- ☕ Grind size: Too fine and you’ll over-extract; too coarse and you’ll under-extract
- ⚖️ Ratio: The foundation of flavor strength and balance
- ⏰ Time: The window where extraction is just right
- 🌡️ Temperature: Room temperature vs. refrigerated steeping
- 💧 Water quality: The base that carries all those coffee flavors
- 🔍 Filtration: What separates smooth cold brew from gritty disappointment
The Essential 8 Simple Steps on How to Do Cold Brew Coffee Perfectly
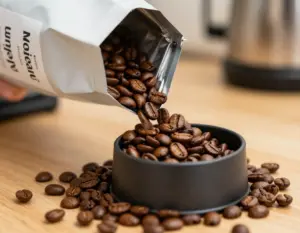
1. Choose and Grind Your Coffee to the Perfect Consistency
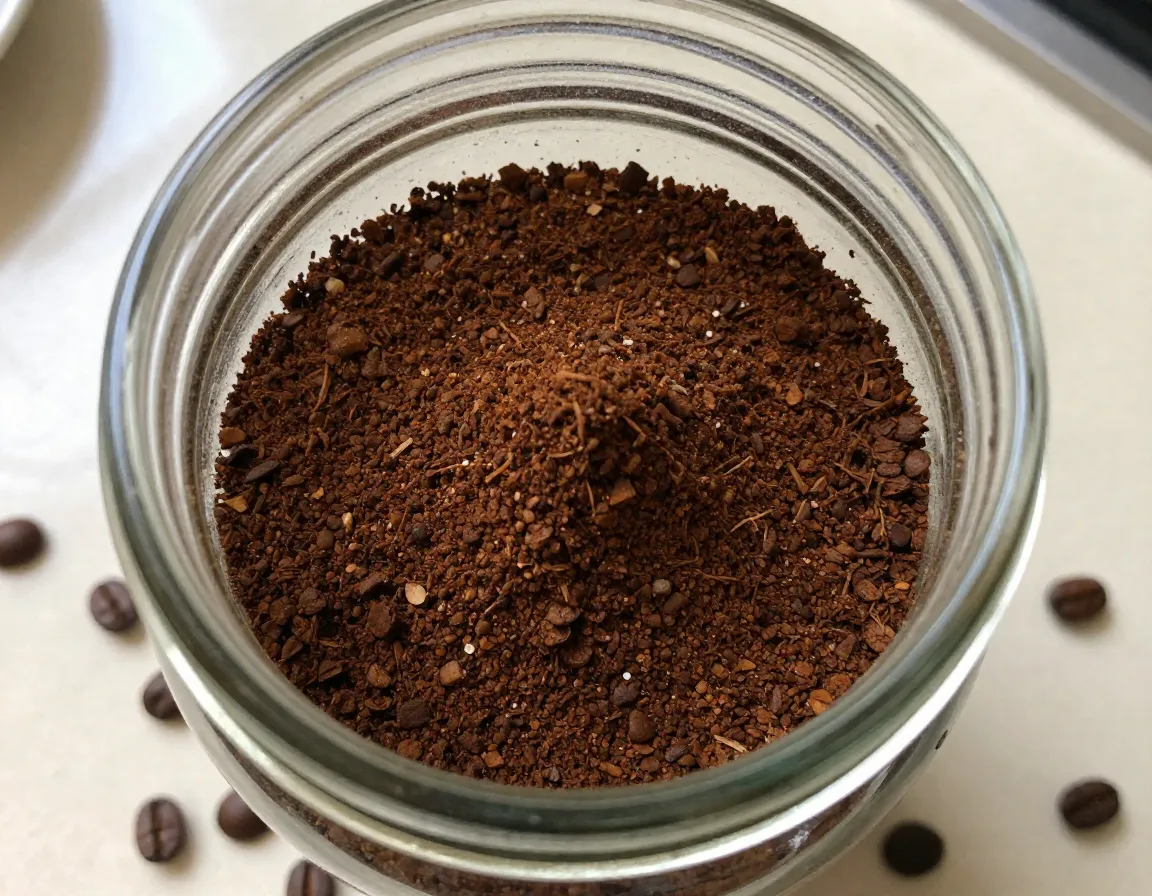
The foundation of exceptional cold brew starts with your coffee grind. Use coarse ground coffee that resembles the consistency of French press grounds—think slightly finer than rock salt but definitely not powder-fine[1][2]. This coarse grind is absolutely critical because fine grounds cause over-extraction, leading to astringent and bitter results that will ruin your cold brew experience[1].
I recommend grinding your beans fresh right before brewing, but if you’re buying pre-ground coffee, specifically look for “coarse” or “French press” grind on the package. The larger particle size allows for proper extraction over the long steeping period without pulling out unwanted bitter compounds.
Pro tip: If your grind looks like it could pass through a fine mesh strainer easily, it’s too fine. You want chunks that will stay put during the steeping process.
2. Master the Coffee-to-Water Ratio for Optimal Strength
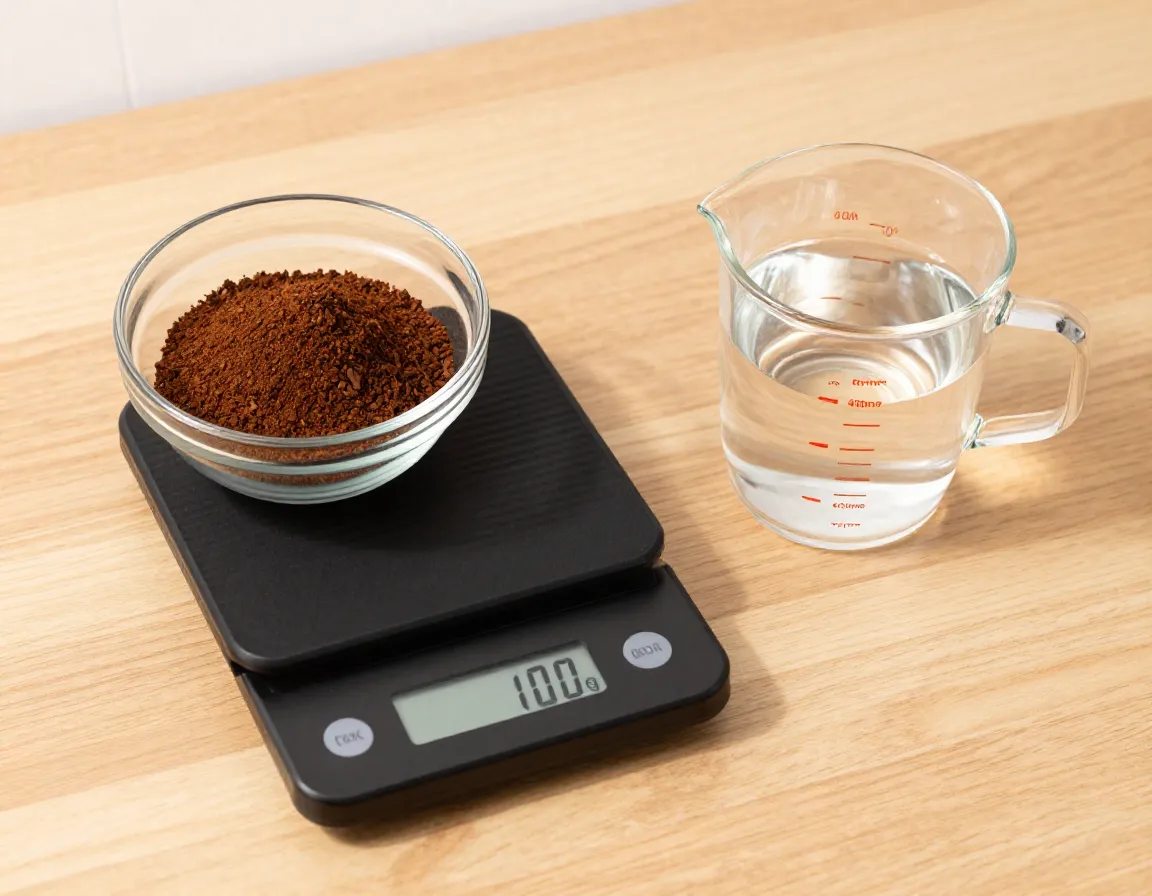
Getting the ratio right is where many home brewers go wrong. The standard ratio is 1 part coffee to 4 parts water by weight[1]. This means if you’re using 100 grams of coffee, you’ll need 400 grams (or 400ml) of water.
For beginners, I suggest starting with these measurements:
- 60g coffee to 300ml water (produces ready-to-drink cold brew)
- 80g coffee to 320ml water (slightly stronger, perfect for adding ice)
- 100g coffee to 400ml water (standard strength concentrate)
A 1:5 ratio produces ready-to-drink cold brew, while higher coffee ratios create concentrates that require dilution with water, milk, or ice[1]. Don’t guess—use a kitchen scale for accuracy. Measuring by volume instead of weight is one of the fastest ways to end up with weak, disappointing cold brew.
3. Select Your Brewing Vessel and Setup
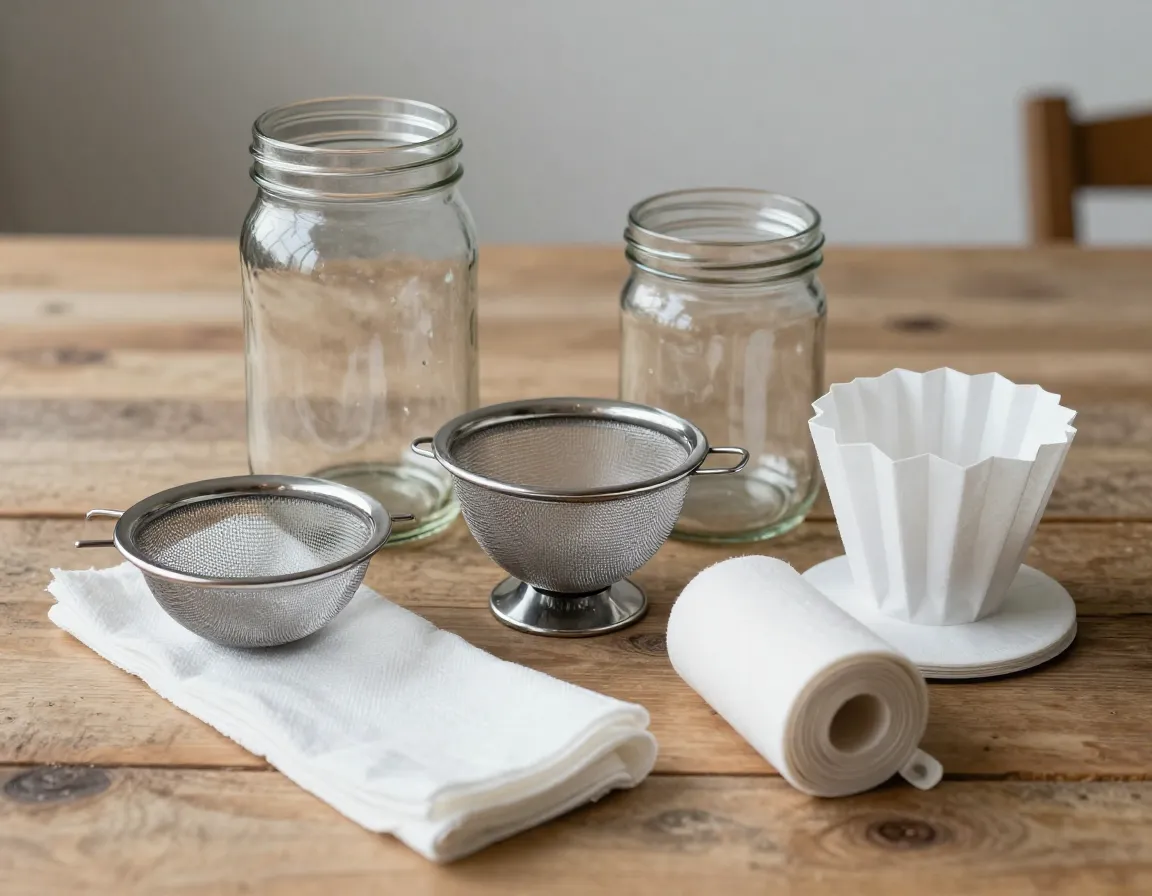
You don’t need expensive equipment to make amazing cold brew. Use any large glass jar or purpose-designed brewers depending on your budget and preferences[1]. Here are your best options:
DIY Method ($10-30):
- Large mason jar or glass container
- Fine mesh strainer
- Cheesecloth or coffee filters
- Second container for filtering
Purpose-Designed Systems ($30-80):
- OXO Good Grips Cold Brew Coffee Maker
- Takeya Patented Deluxe Cold Brew Coffee Maker
- Toddy Cold Brew System
The DIY jar method costs $10-30 with cheesecloth or fine filters, while purpose-designed systems range $30-80 and simplify filtering and storage[1]. Both methods work perfectly—it’s really about convenience and how often you plan to make cold brew.
4. Use Filtered Water for Superior Flavor
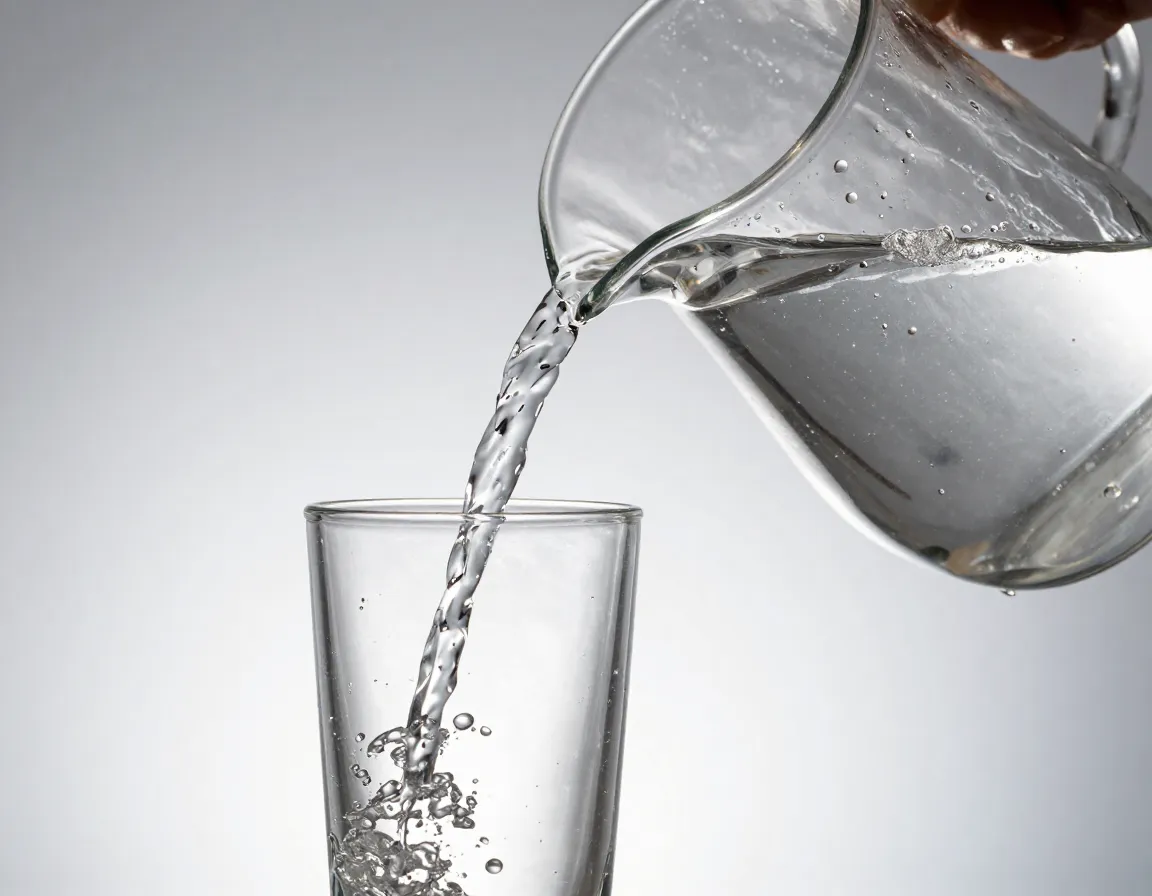
Since coffee is mostly water, use filtered water, not distilled for the best flavor results[3]. Water quality significantly impacts the final taste because it makes up over 95% of your finished cold brew[3].
Tap water often contains chlorine, minerals, and other compounds that can interfere with the extraction process and create off-flavors. Distilled water, on the other hand, lacks the minerals needed for proper extraction. Filtered water strikes the perfect balance—clean enough to let the coffee shine, but with enough mineral content to facilitate proper extraction.
If you don’t have a water filter, letting tap water sit out overnight will allow chlorine to evaporate, improving the taste significantly.
Advanced Techniques: Perfecting Your Cold Brew Process
5. Combine Coffee and Water with Proper Technique
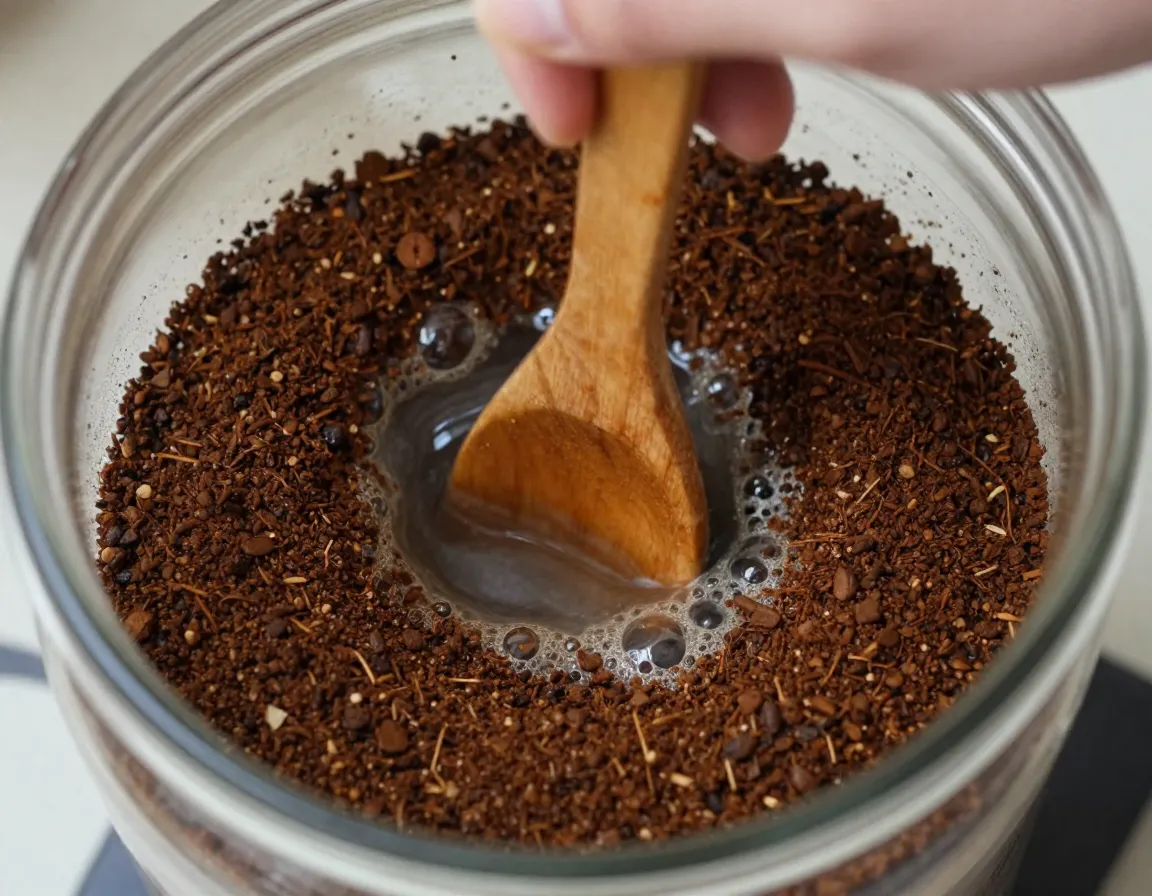
Now comes the moment where your preparation pays off. Add your coarse coffee grounds to your brewing vessel first, then slowly pour the filtered water over them. Stir gently but thoroughly to ensure all grounds are saturated—dry pockets will lead to uneven extraction.
The key here is achieving complete saturation without creating a mess. Pour the water in a slow, circular motion, similar to how you’d make pour-over coffee. This helps ensure even wetting of all the coffee grounds. After adding all the water, give it one final gentle stir to break up any clumps.
Important: Don’t pack the grounds down or press them. Cold brew extraction works best when water can flow freely around the coffee particles.
6. Steep for the Optimal Time Window

This is where patience becomes your best friend. Steep for 12-24 hours for optimal extraction[1]. This time window is crucial—shorter steeping under-extracts and leaves you with weak, sour cold brew, while longer steeping may over-extract and introduce unwanted bitterness[1].
Steeping time guidelines:
- 12 hours: Minimum for proper extraction, lighter flavor
- 18 hours: Sweet spot for most coffee types
- 24 hours: Maximum recommended time, fuller body
You can employ room temperature or refrigerated steeping—both work well, though refrigeration slightly slows extraction[1]. I prefer room temperature steeping for the first 12 hours, then moving to the refrigerator for the remaining time. This gives you good extraction speed initially, then slows it down to prevent over-extraction.
7. Filter Thoroughly for Smooth Results
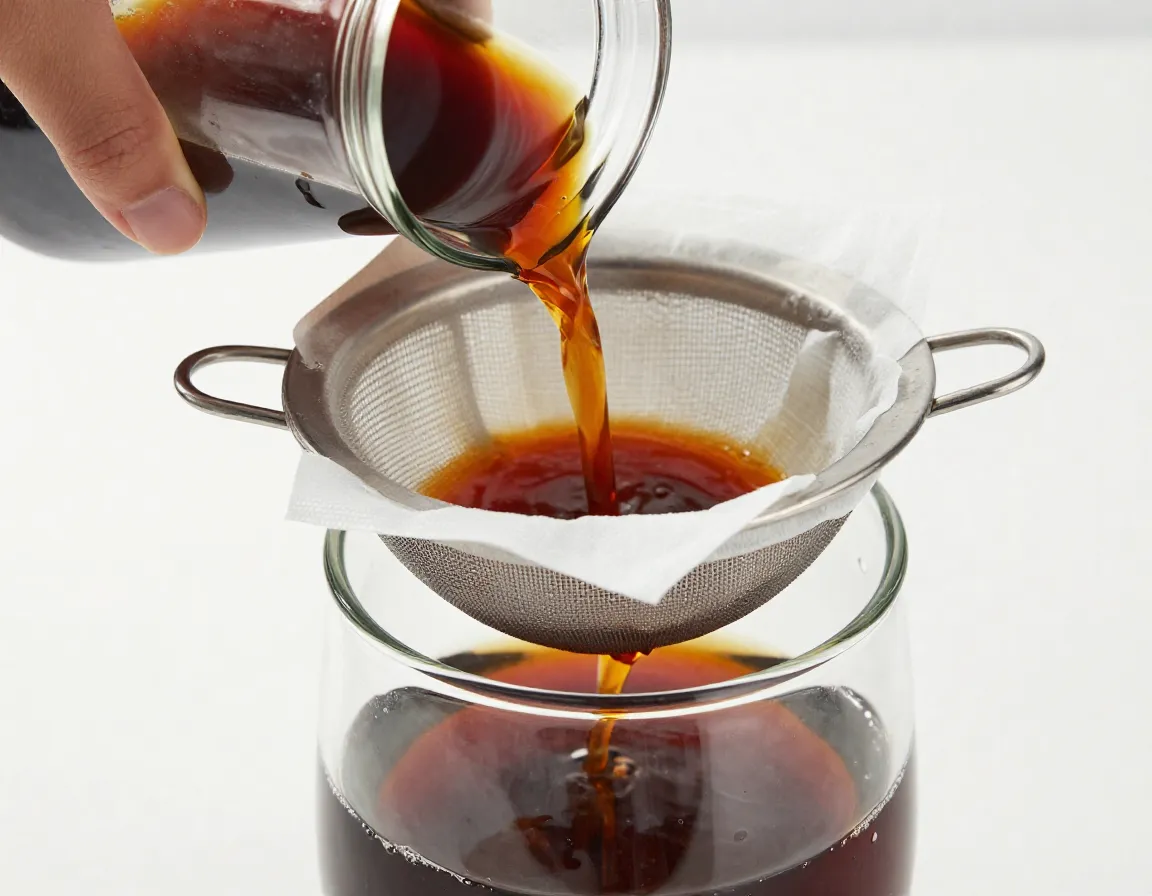
Proper filtration separates amateur cold brew from café-quality results. Filter thoroughly with appropriate mesh or paper to ensure a grit-free final product[2]. The goal is to remove all coffee grounds while preserving the smooth, clean flavor you’ve worked to extract.
Filtering process:
- Start with a coarse strainer to remove most grounds
- Line a fine mesh strainer with cheesecloth or coffee filters
- Pour slowly to avoid overwhelming the filter
- 60 micron filters ensure grit-free brews[2]
Single-use paper filters prevent finer grounds in the final product[2]. If you’re using the DIY method, double-filtering (once through coarse mesh, then through paper filters) gives you the cleanest results.
Don’t rush this step—good filtration can take 10-15 minutes, but it’s worth every second for that perfectly smooth texture.
8. Store and Serve Your Perfect Cold Brew
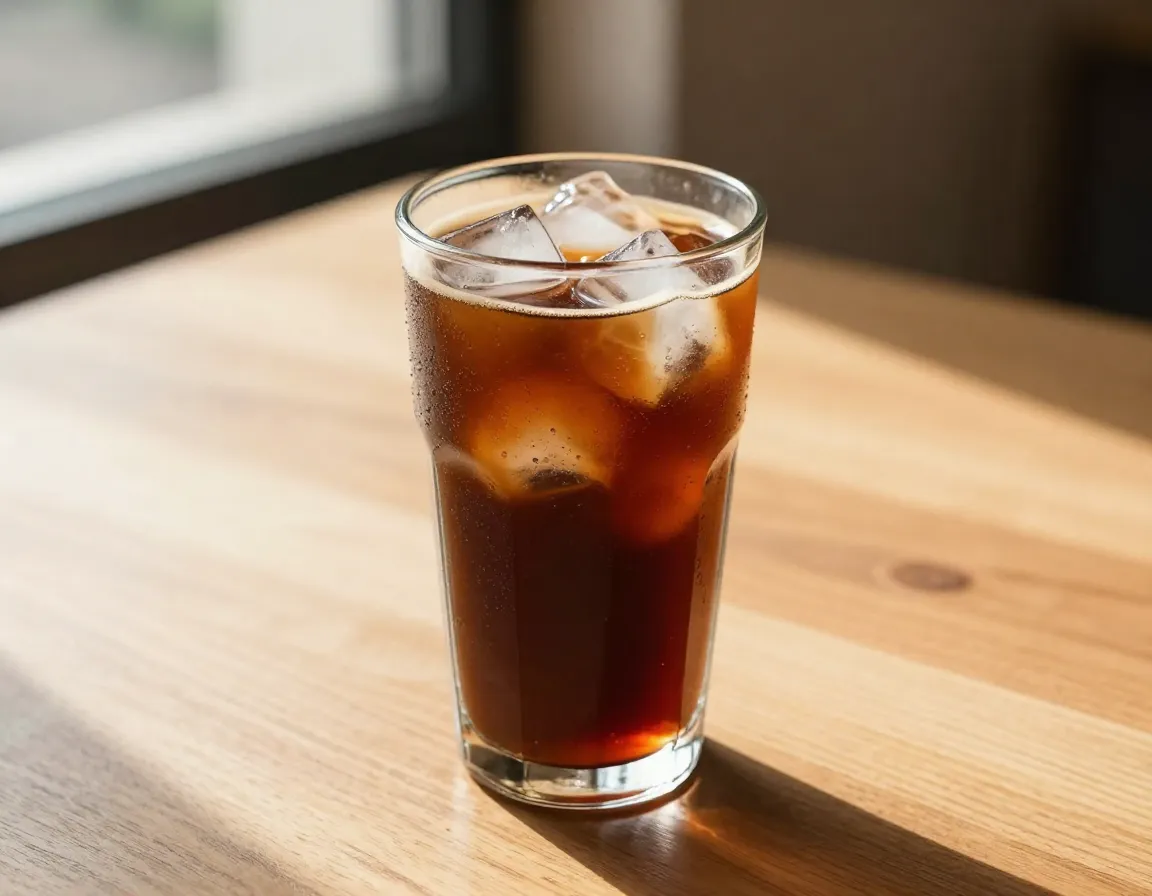
Congratulations! You’ve successfully completed the 8 simple steps on how to do cold brew coffee perfectly. Now for the final crucial step: proper storage and serving.
Store finished cold brew in the refrigerator for up to 2 weeks[1]. Proper storage maintains freshness and flavor, but the quality is best within the first week. Use airtight glass containers—mason jars work perfectly and won’t absorb flavors like plastic might.
Serving suggestions:
- Straight: Pour over ice for pure cold brew experience
- With milk: Add dairy or non-dairy milk to taste
- Sweetened: Simple syrup blends better than granulated sugar
- Flavored: Add vanilla, cinnamon, or chocolate syrup
Pro tip: Make ice cubes from leftover cold brew to avoid dilution as they melt!
Troubleshooting Common Cold Brew Problems
Even when following the 8 simple steps on how to do cold brew coffee perfectly, you might encounter some issues. Here’s how to fix the most common problems:
Bitter or Over-Extracted Cold Brew
- Cause: Grind too fine, steeped too long, or ratio too high
- Solution: Use coarser grounds, reduce steeping time to 12-16 hours
- Prevention: Stick to the 1:4 ratio and proper grind size
Weak or Sour Cold Brew
- Cause: Grind too coarse, not enough steeping time, or ratio too low
- Solution: Use slightly finer grind, extend steeping to 20-24 hours
- Prevention: Ensure complete saturation during brewing
Gritty Texture
- Cause: Inadequate filtration or grind too fine
- Solution: Filter again through paper filters or cheesecloth
- Prevention: Use proper grind size and double-filter
Inconsistent Flavor
- Cause: Uneven extraction, poor water quality, or old coffee
- Solution: Ensure complete saturation, use filtered water, fresh beans
- Prevention: Stir thoroughly, use beans roasted within 2-4 weeks
Equipment Recommendations and Budget Options
Budget-Friendly Setup ($15-25)
- Large mason jar (32oz)
- Fine mesh strainer
- Cheesecloth or paper coffee filters
- Kitchen scale for measuring
Mid-Range Setup ($40-60)
- OXO Good Grips Cold Brew Coffee Maker
- Built-in filtration system
- Easy storage and serving
Premium Setup ($70-100)
- Toddy Cold Brew System
- Professional-grade filtration
- Large batch capacity
Essential Accessories
- Coffee grinder: Burr grinder preferred for consistent coarse grounds
- Kitchen scale: Critical for accurate ratios
- Storage containers: Glass jars or bottles for finished cold brew
- Quality coffee: Fresh-roasted beans make all the difference
Advanced Tips for Cold Brew Mastery
Experiment with Coffee Origins
Different coffee origins bring unique flavors to cold brew:
- Ethiopian: Bright, fruity notes
- Colombian: Balanced, chocolatey
- Brazilian: Nutty, smooth
- Guatemala: Full-bodied, spicy
Try Different Roast Levels
- Light roasts: More acidic, complex flavors
- Medium roasts: Balanced, versatile
- Dark roasts: Bold, traditional cold brew flavor
Seasonal Variations
- Summer: Lighter roasts, served over ice
- Winter: Darker roasts, served with warm milk
- Spring: Floral, bright origins
- Fall: Spiced additions like cinnamon or nutmeg
Batch Size Planning
- Single serving: 30g coffee, 120ml water
- Weekly supply: 200g coffee, 800ml water
- Party batch: 500g coffee, 2000ml water
Health Benefits and Nutritional Considerations
Cold brew offers several advantages over traditional hot coffee:
Lower Acidity: The cold brewing process extracts fewer acidic compounds, making it easier on sensitive stomachs and tooth enamel.
Higher Antioxidants: Some studies suggest cold brew may preserve more beneficial antioxidants than hot brewing methods.
Caffeine Content: Cold brew typically contains more caffeine per ounce than hot coffee, but you often dilute it, so the final caffeine content can be similar or slightly higher.
Reduced Bitterness: The smooth flavor means you might need less sugar or cream, potentially reducing calorie intake.
Conclusion
Mastering the 8 simple steps on how to do cold brew coffee perfectly transforms your relationship with coffee. You now have the knowledge to create smooth, delicious cold brew that rivals any café—right in your own kitchen. From selecting the perfect coarse grind to achieving that ideal 1:4 ratio, from patient 12-24 hour steeping to thorough filtration, each step builds toward that perfect cup.
The beauty of cold brew lies in its simplicity and forgiveness. Once you nail the basics, you can experiment with different beans, ratios, and serving styles to create your signature cold brew. Whether you choose the budget-friendly mason jar method or invest in a dedicated cold brew system, the principles remain the same.
Your next steps:
- Start this weekend: Gather your supplies and make your first batch
- Keep notes: Track what works best for your taste preferences
- Experiment gradually: Try different coffee origins and ratios once you master the basics
- Share the knowledge: Teach friends and family these techniques
- Make it routine: Prepare a fresh batch every week for consistent supply
Remember, the 8 simple steps on how to do cold brew coffee perfectly are just the beginning. With practice, you’ll develop an intuitive feel for the process and discover your own preferences. Soon, you’ll be the friend everyone turns to for cold brew advice—and you’ll never have to pay café prices for inferior cold brew again.
Start your cold brew journey today, and by this time next week, you’ll be sipping the smoothest, most delicious coffee you’ve ever made at home.
References
[1] Best Cold Brew Coffee Maker – https://completehomebarista.com/guides/best-cold-brew-coffee-maker/
[2] Watch – https://www.youtube.com/watch?v=eOtyKruhP18
[3] How To Brew Better Coffee At Home In 2026 – https://bluehousecoffee.com/learn/how-to-brew-better-coffee-at-home-in-2026
[4] Guide To Make The Best Cold Brew Coffee – https://www.lardera.com/blog/57/guide-to-make-the-best-cold-brew-coffee
[5] The Ultimate Guide To The Best Cold Brew Coffee Cups Of 2026 – https://itehil.com/blogs/gear-buying-guides/the-ultimate-guide-to-the-best-cold-brew-coffee-cups-of-2026
[6] The Cold Brew Guide – https://readysetcoffee.com/blogs/brew-guides/the-cold-brew-guide